Published 13 November 2026 · Acer Predator gaming laptop case study
Predator twin-fan clean
the two fans needed separate attention.
This blue-trim Acer Predator has one blower on each side and an intake pattern in the removable base. The workshop photos show the fan blades being brushed, the internals exposed and why the small connectors need careful handling.
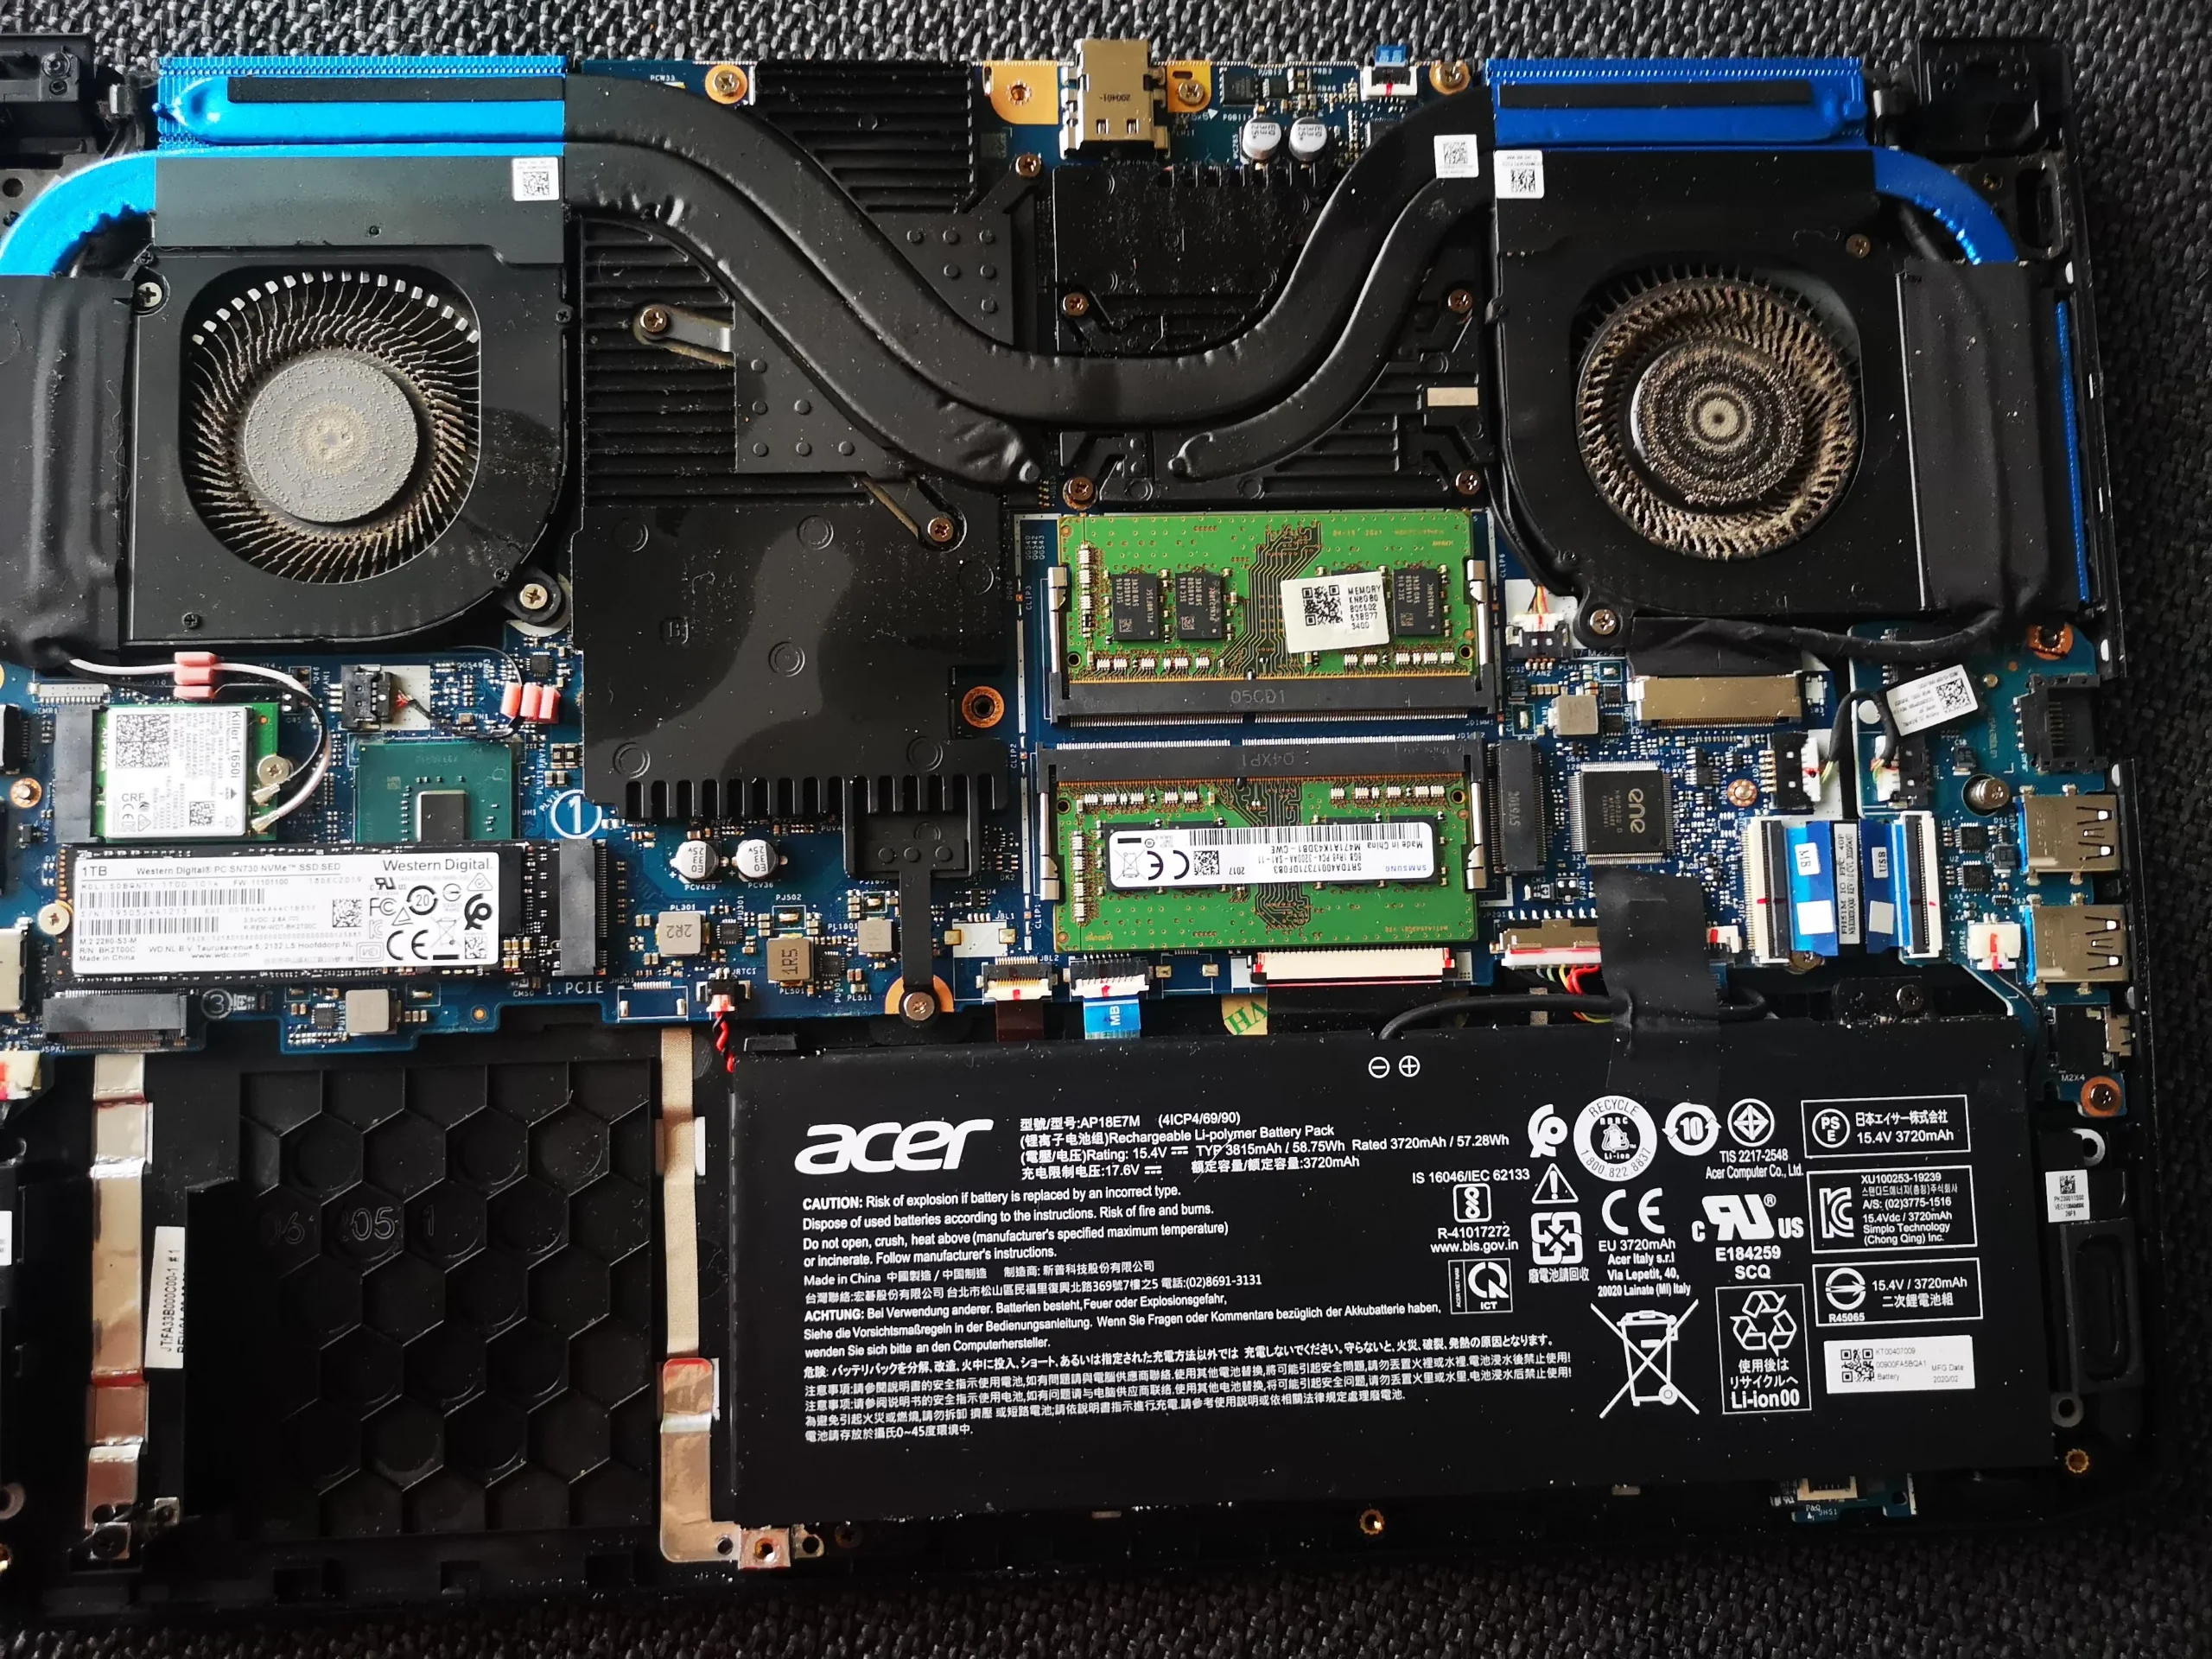
The layout
Two blower fans with blue-trim exhausts
The access
Bottom cover removed to expose both fan chambers
The cleaning
Visible dust brushed from fan blades and housings
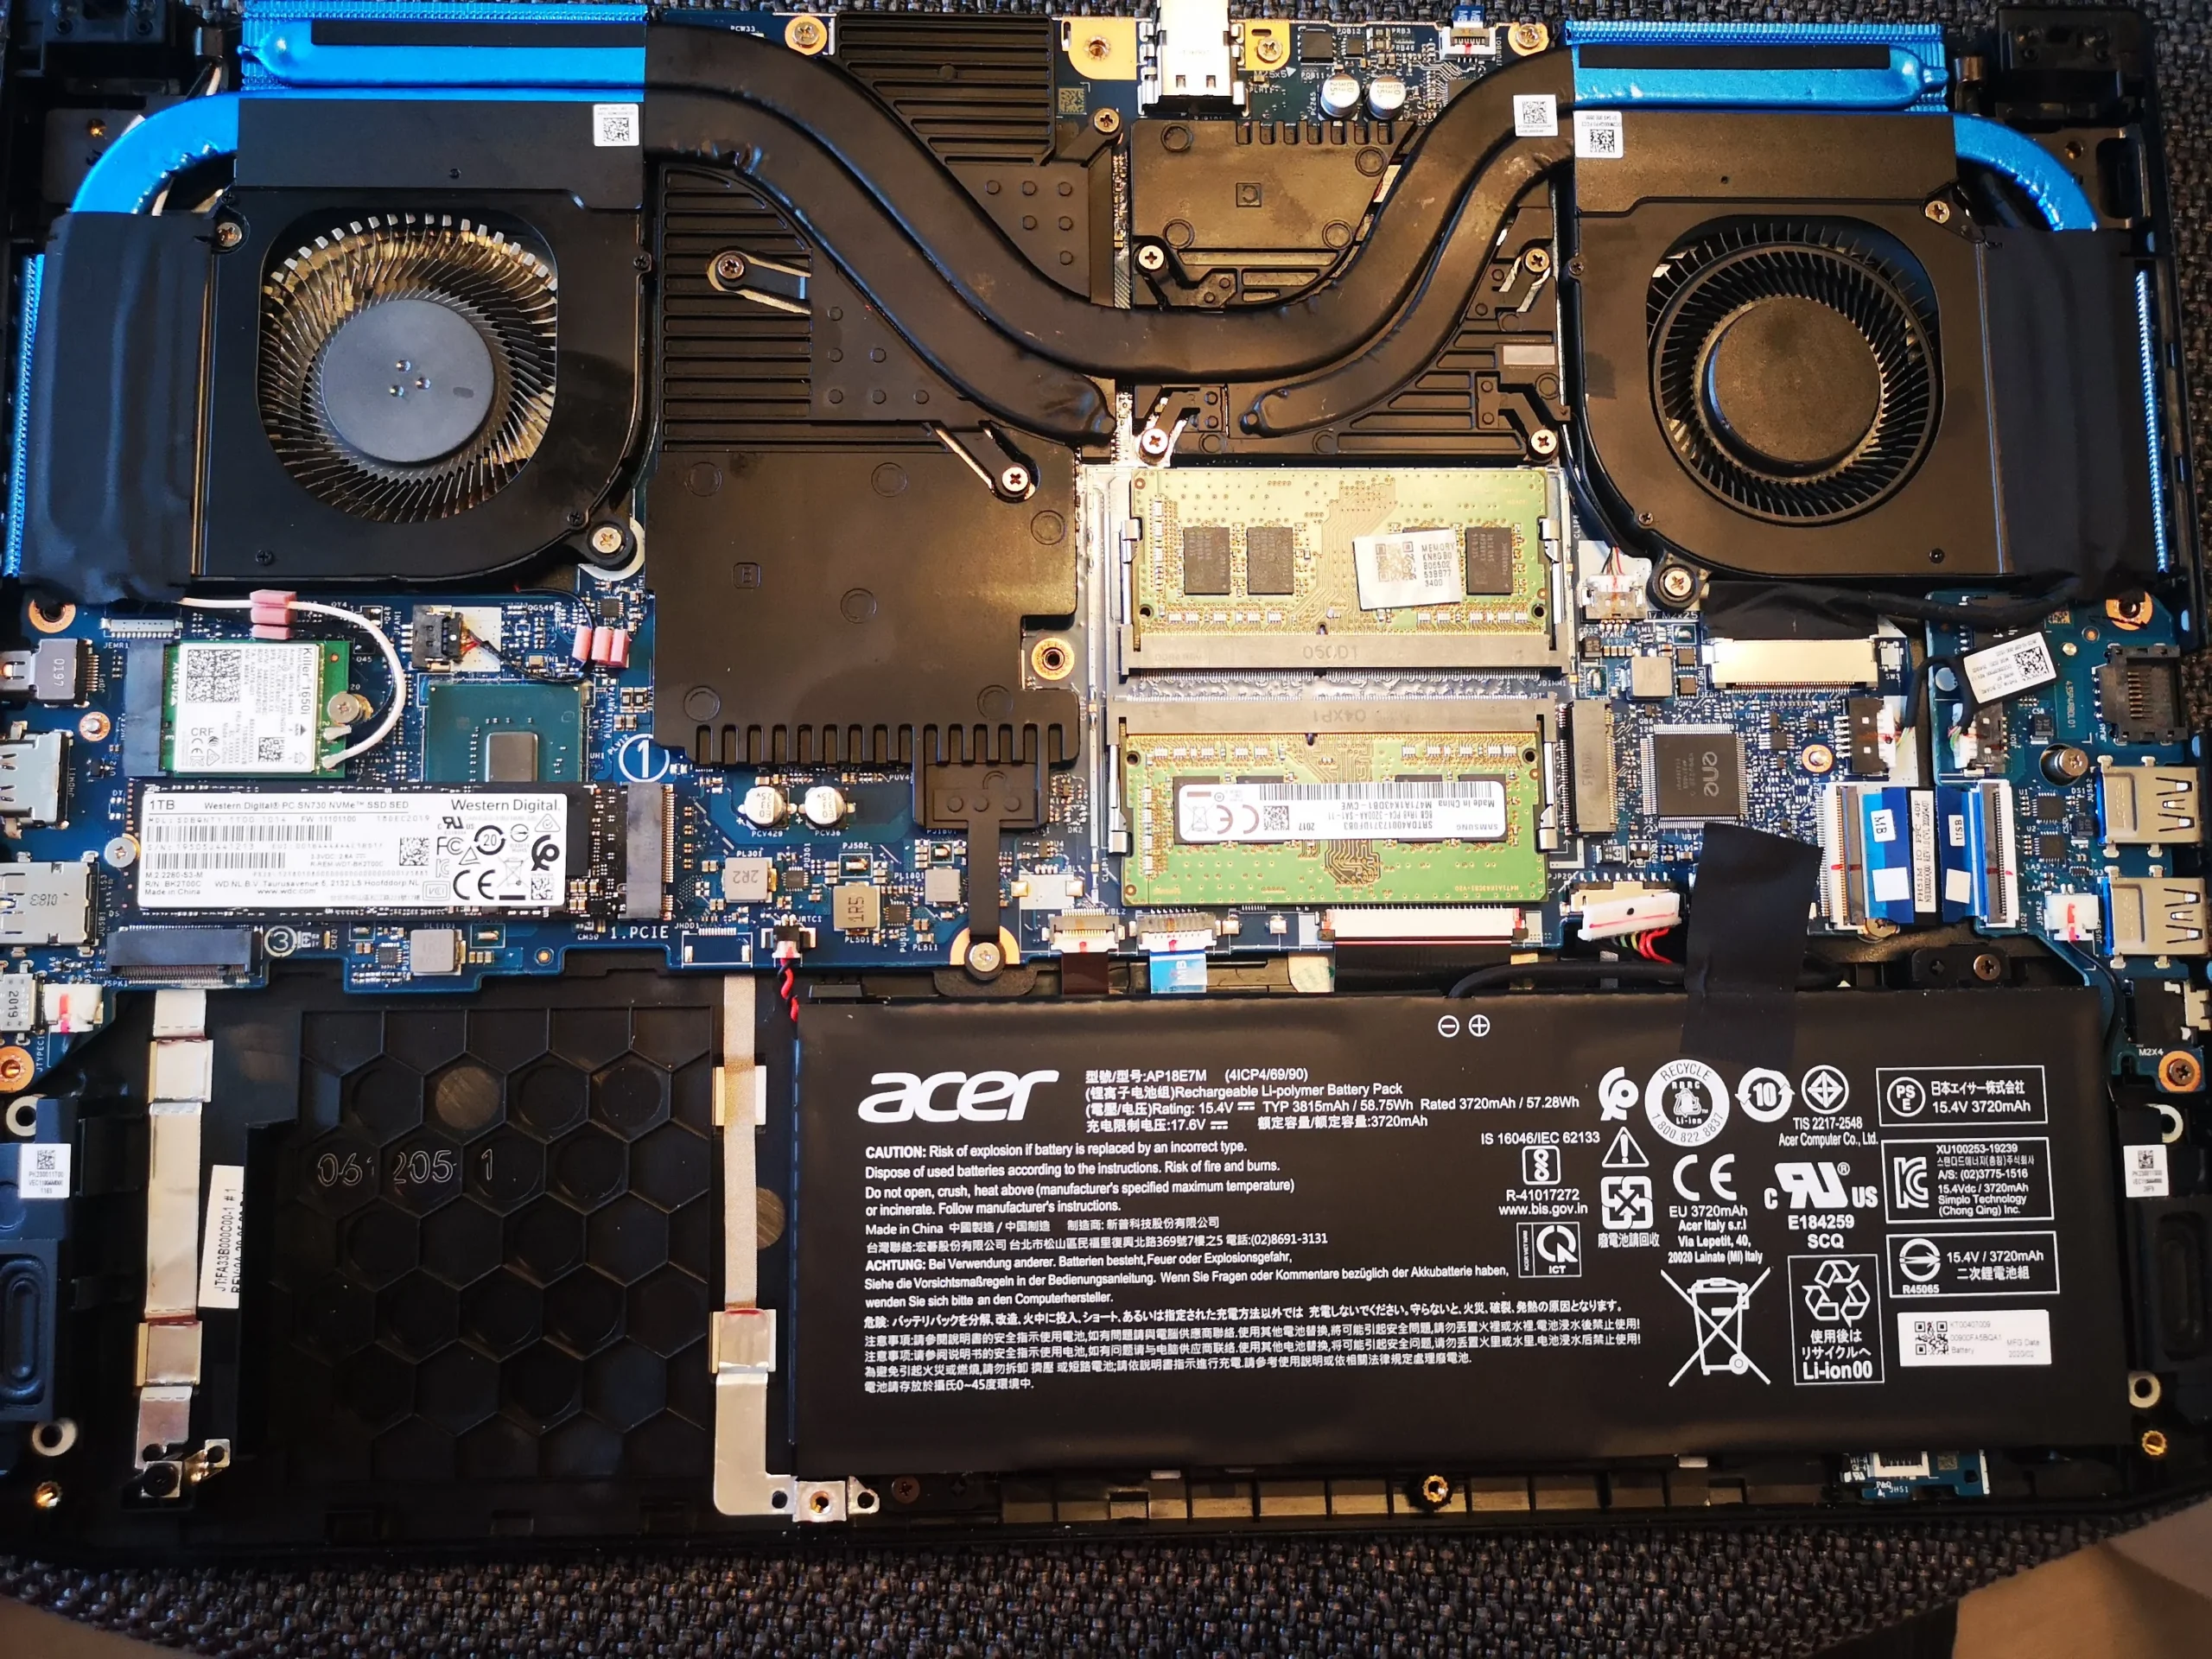
The most useful starting point on this Predator is the wide internal overview: a blower sits at each edge of the chassis, connected by a shared dark heat-pipe assembly. The bottom panel has its own vent pattern, so the fans need a clear source of incoming air as well as a clear path out.
The archive documents disassembly and repeated close-ups of controlled fan brushing. It also includes chip-contact photos, but no matched temperature test or precise model number. This case therefore explains the visible fan and vent work without attaching an unverified performance claim or variant name.
In this case study
01 / Open-case view
One blower sits on each side of the cooler
The internal overview makes the two-fan layout plain. Each blower has its own blades, housing and nearby outlet, so one can accumulate more dust than the other. A single clean-looking fan is not evidence that both paths are clear.
The heat pipes run between the central chips and the finned exits. Dust should be checked at those exits as well as on the visible fan faces.
02 / The photographed action
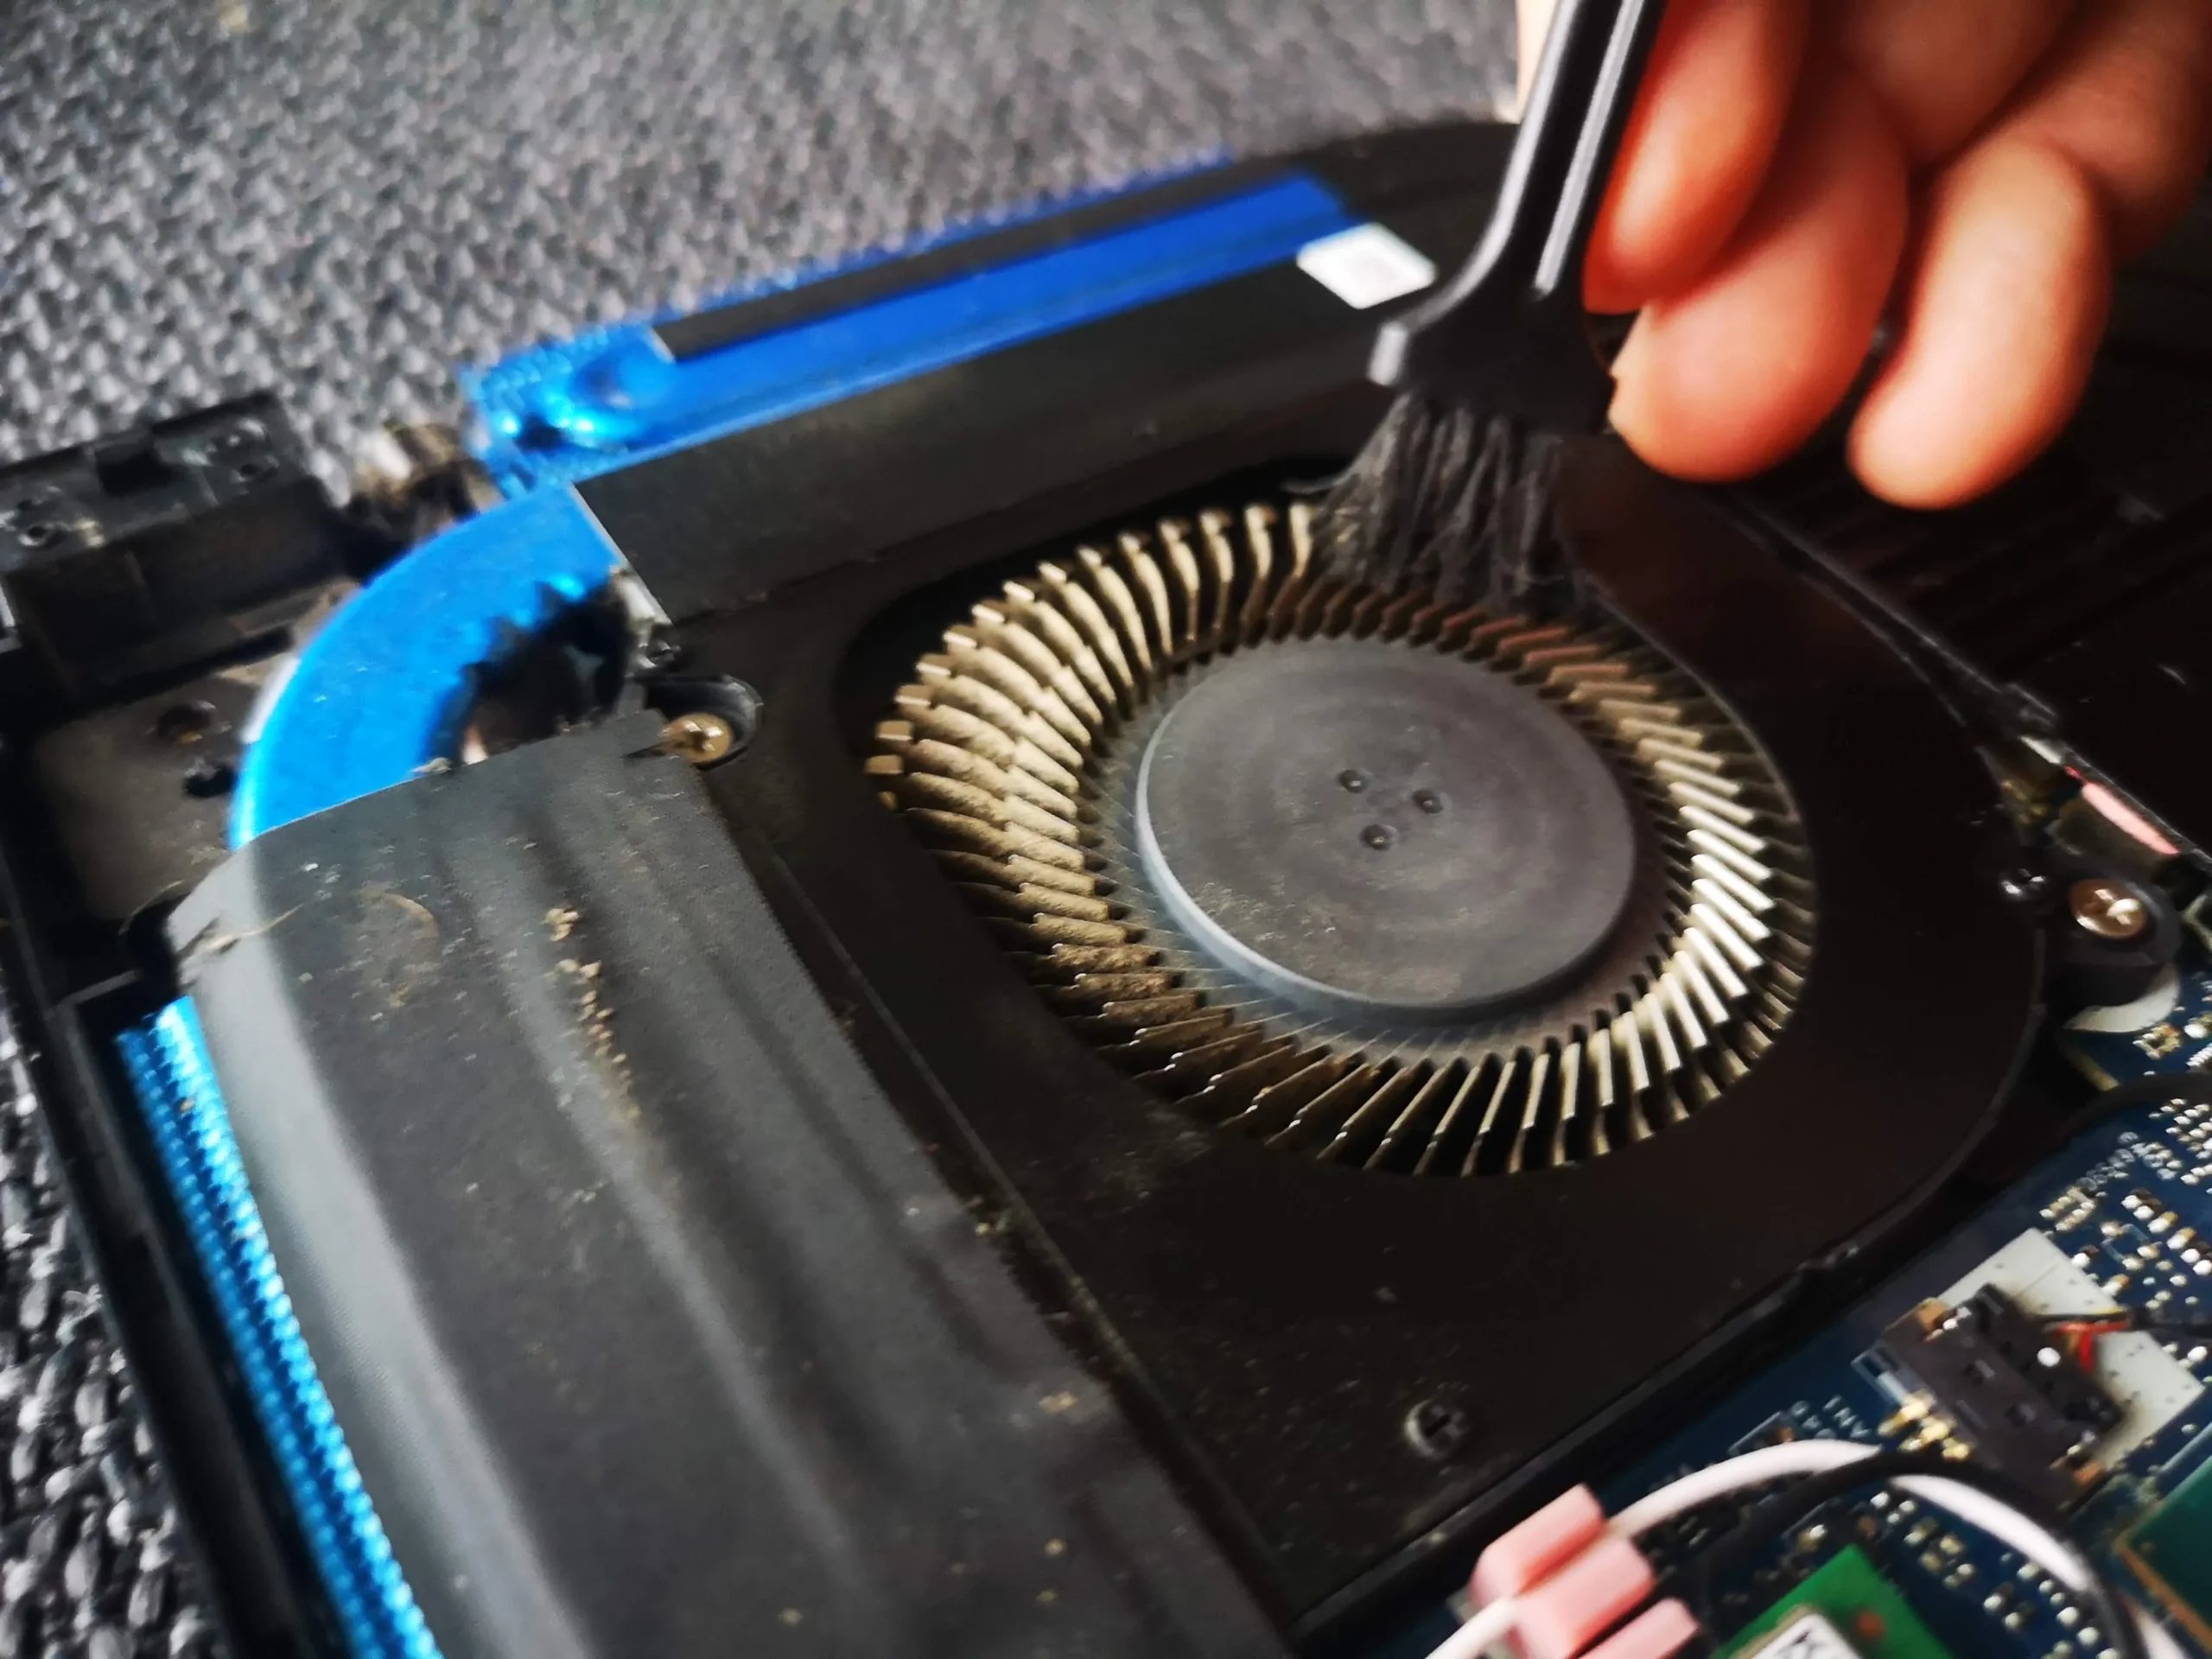
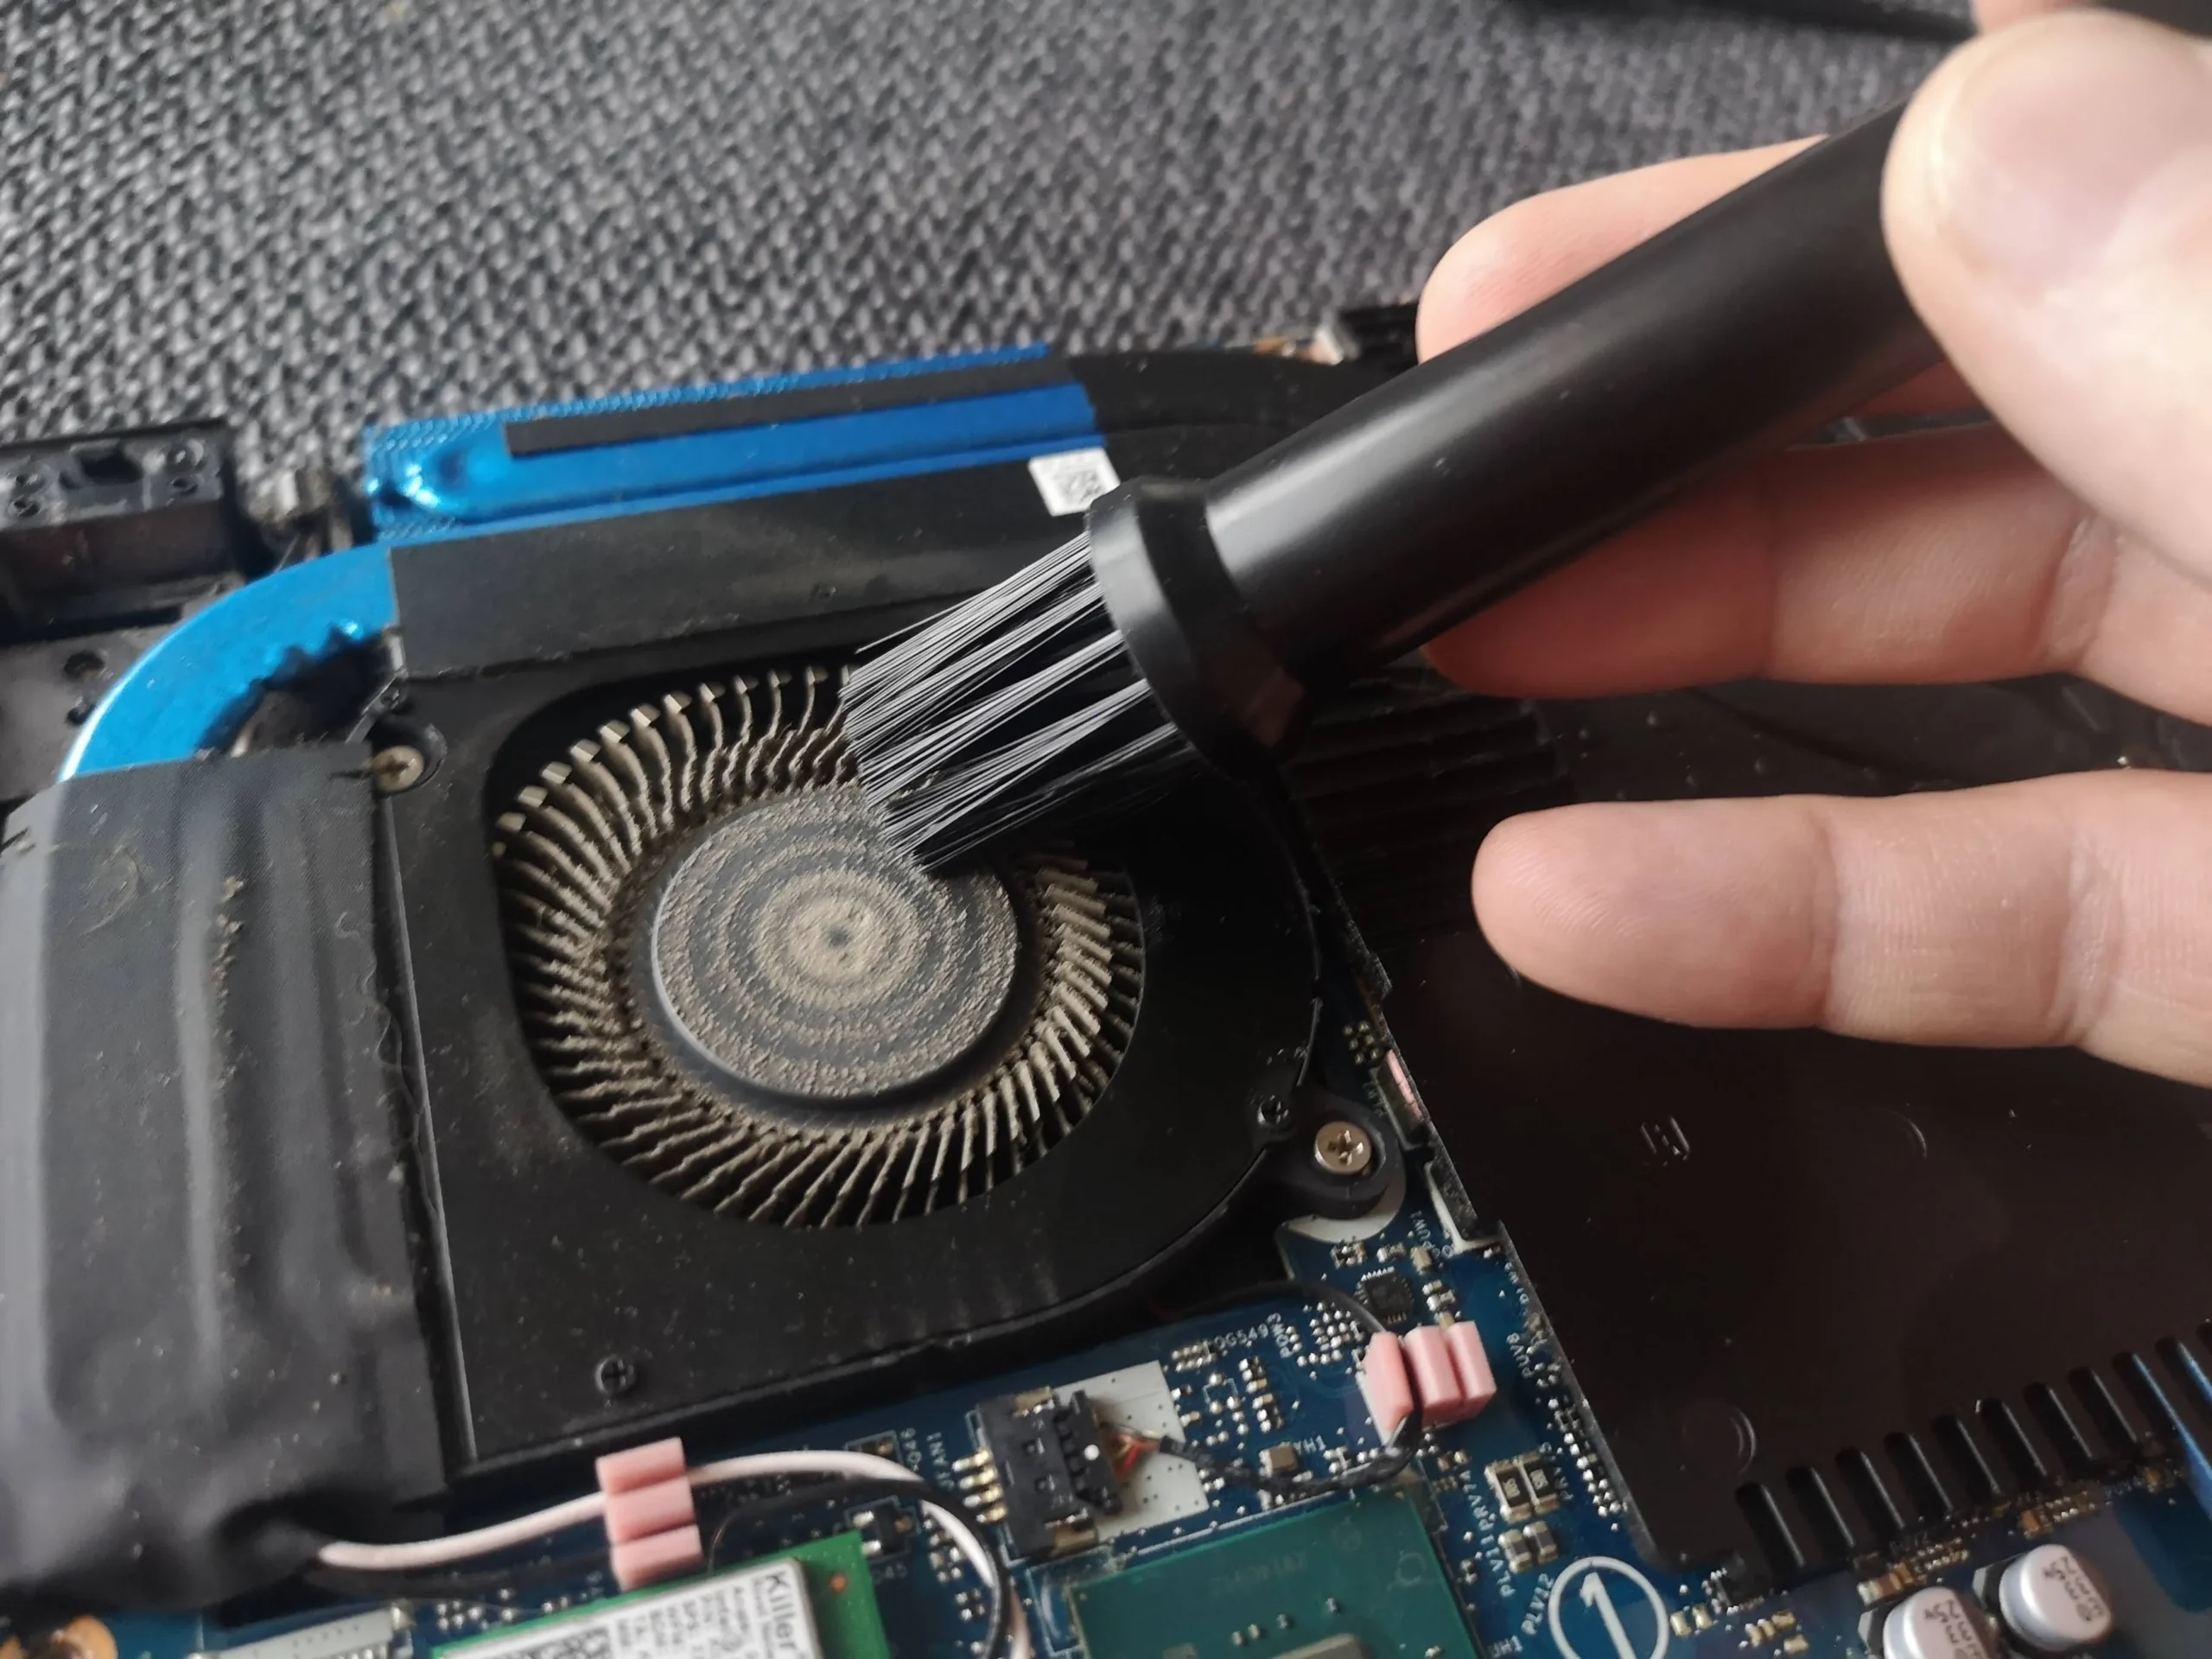
Dust was brushed from the blower blades
Several close-ups show a brush working across a circular fan. The tool is small enough to reach the blades, but the rotor should be held still so it does not spin fast or twist its bearing and connector while being cleaned.
Work outward and capture loosened dust rather than pushing it across the motherboard. Recheck the blade roots and the space where the fan housing meets the fin stack.
03 / The air supply
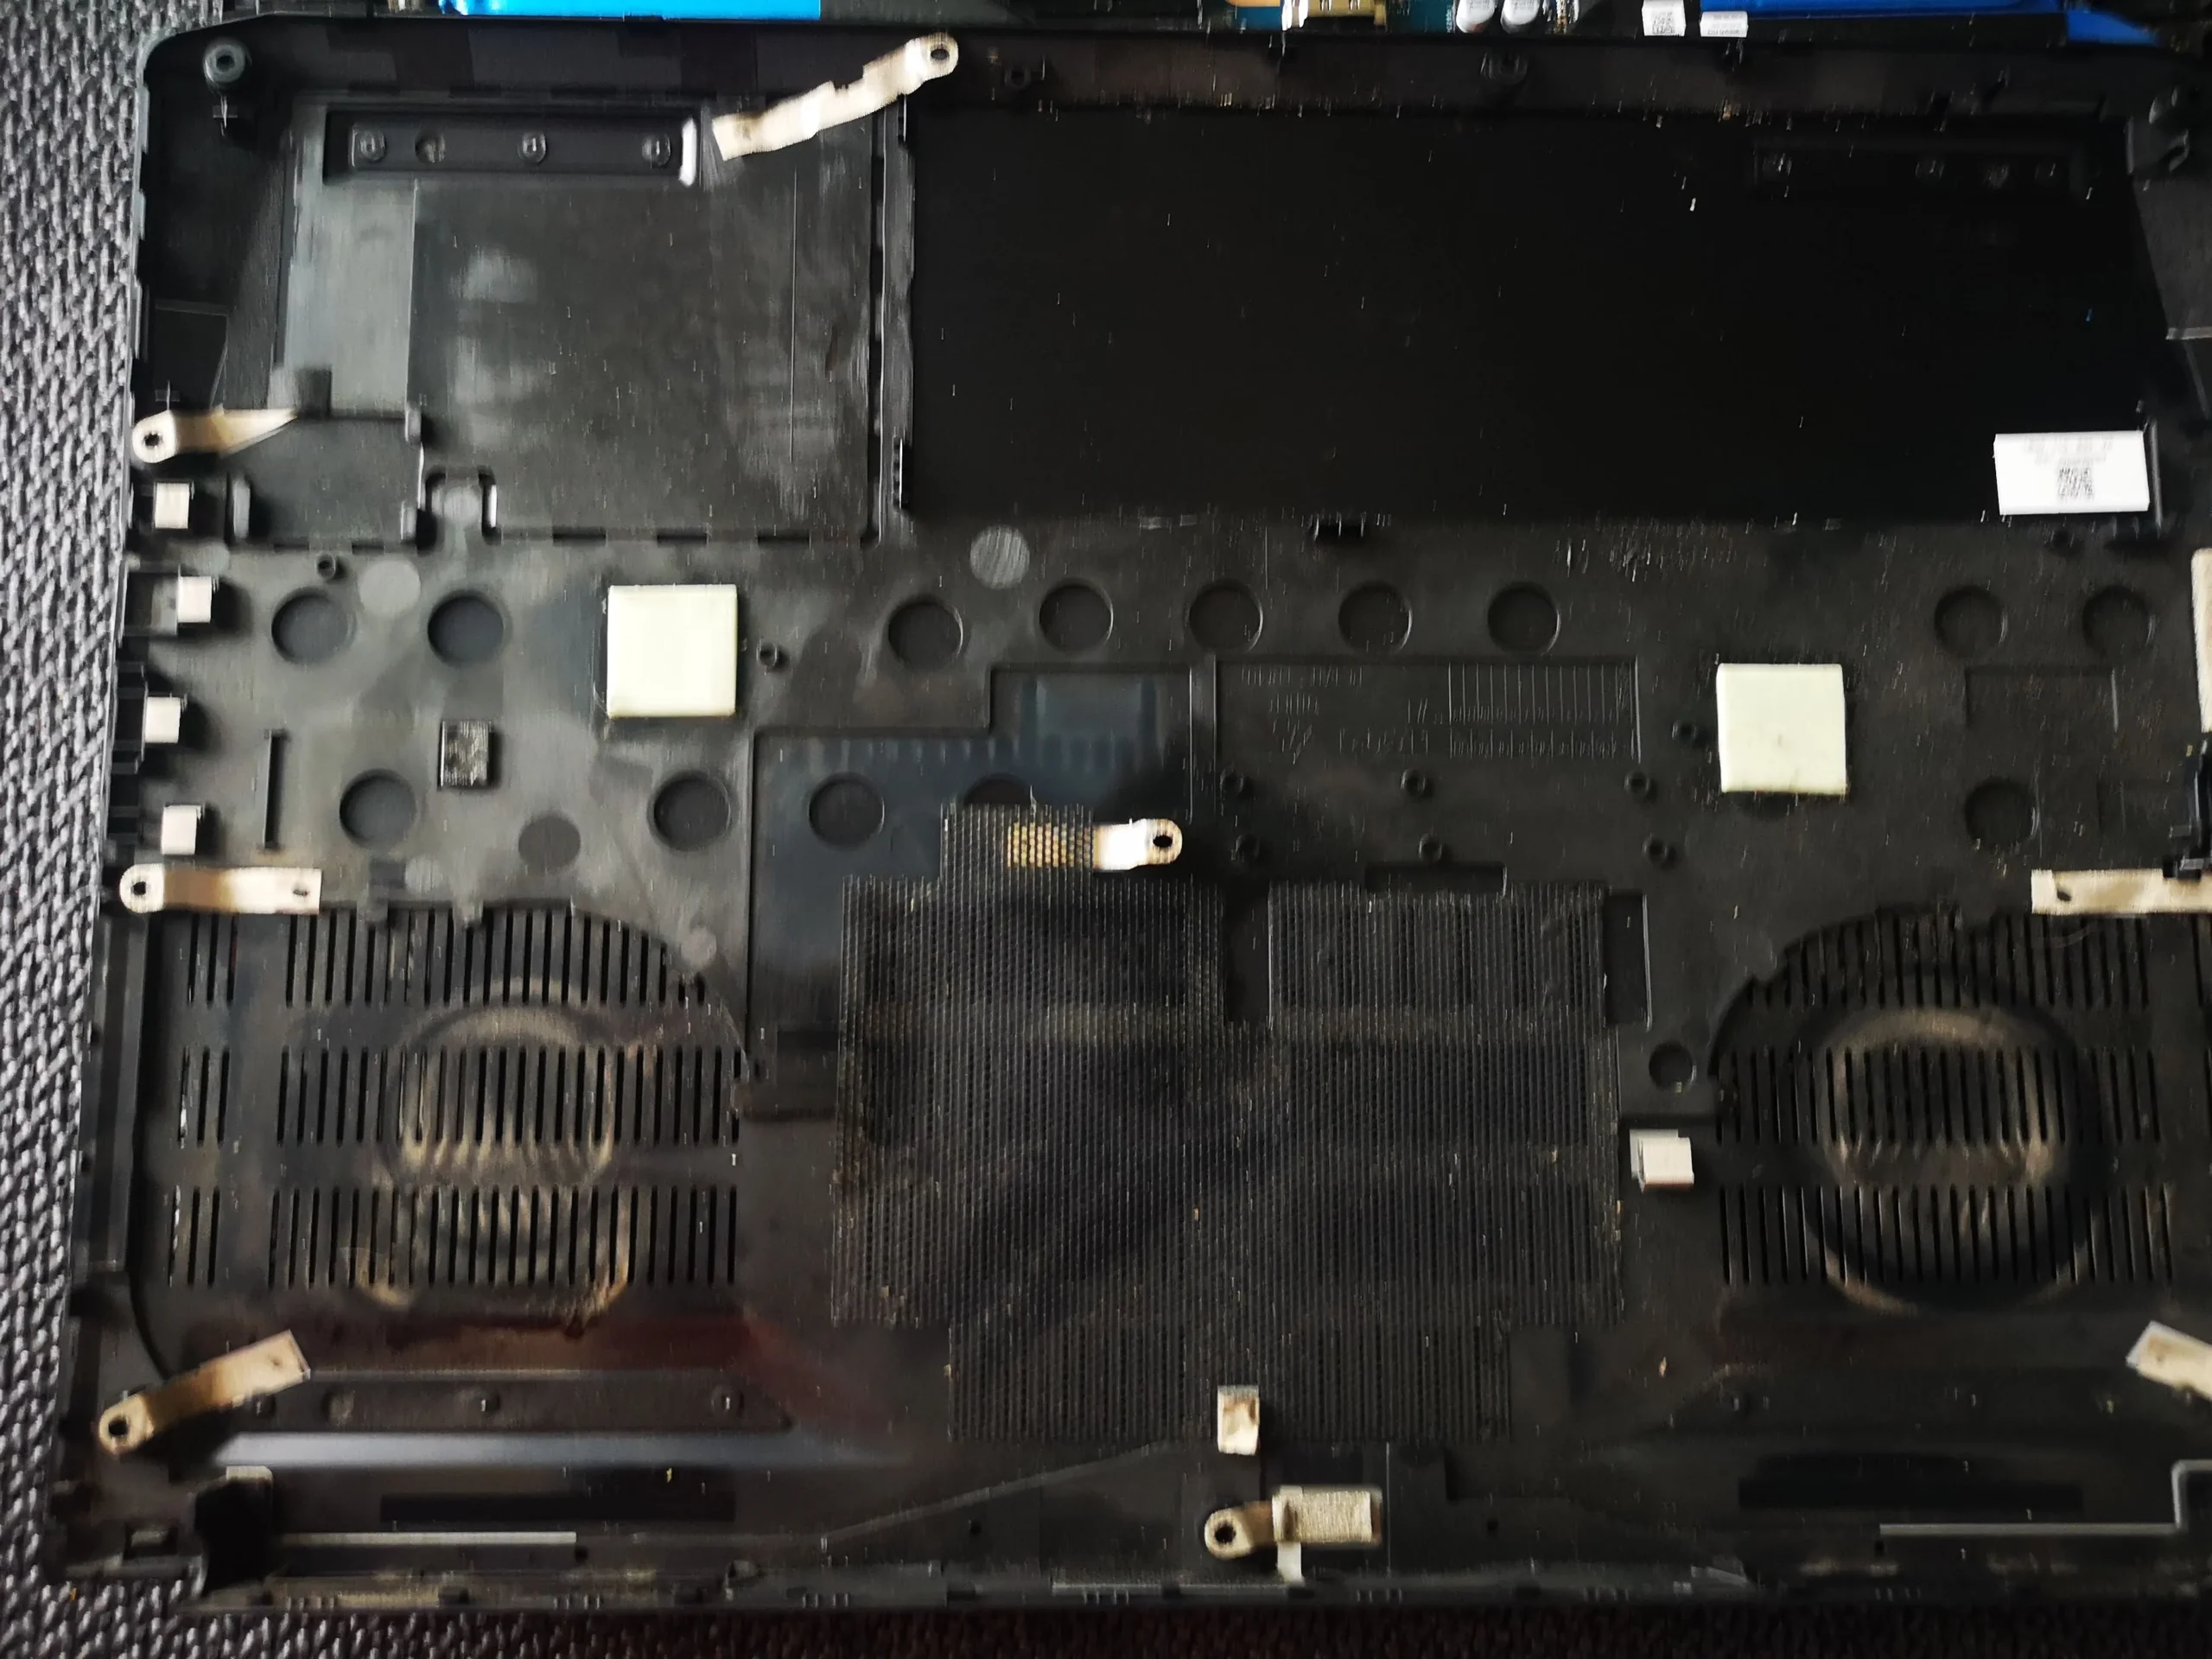
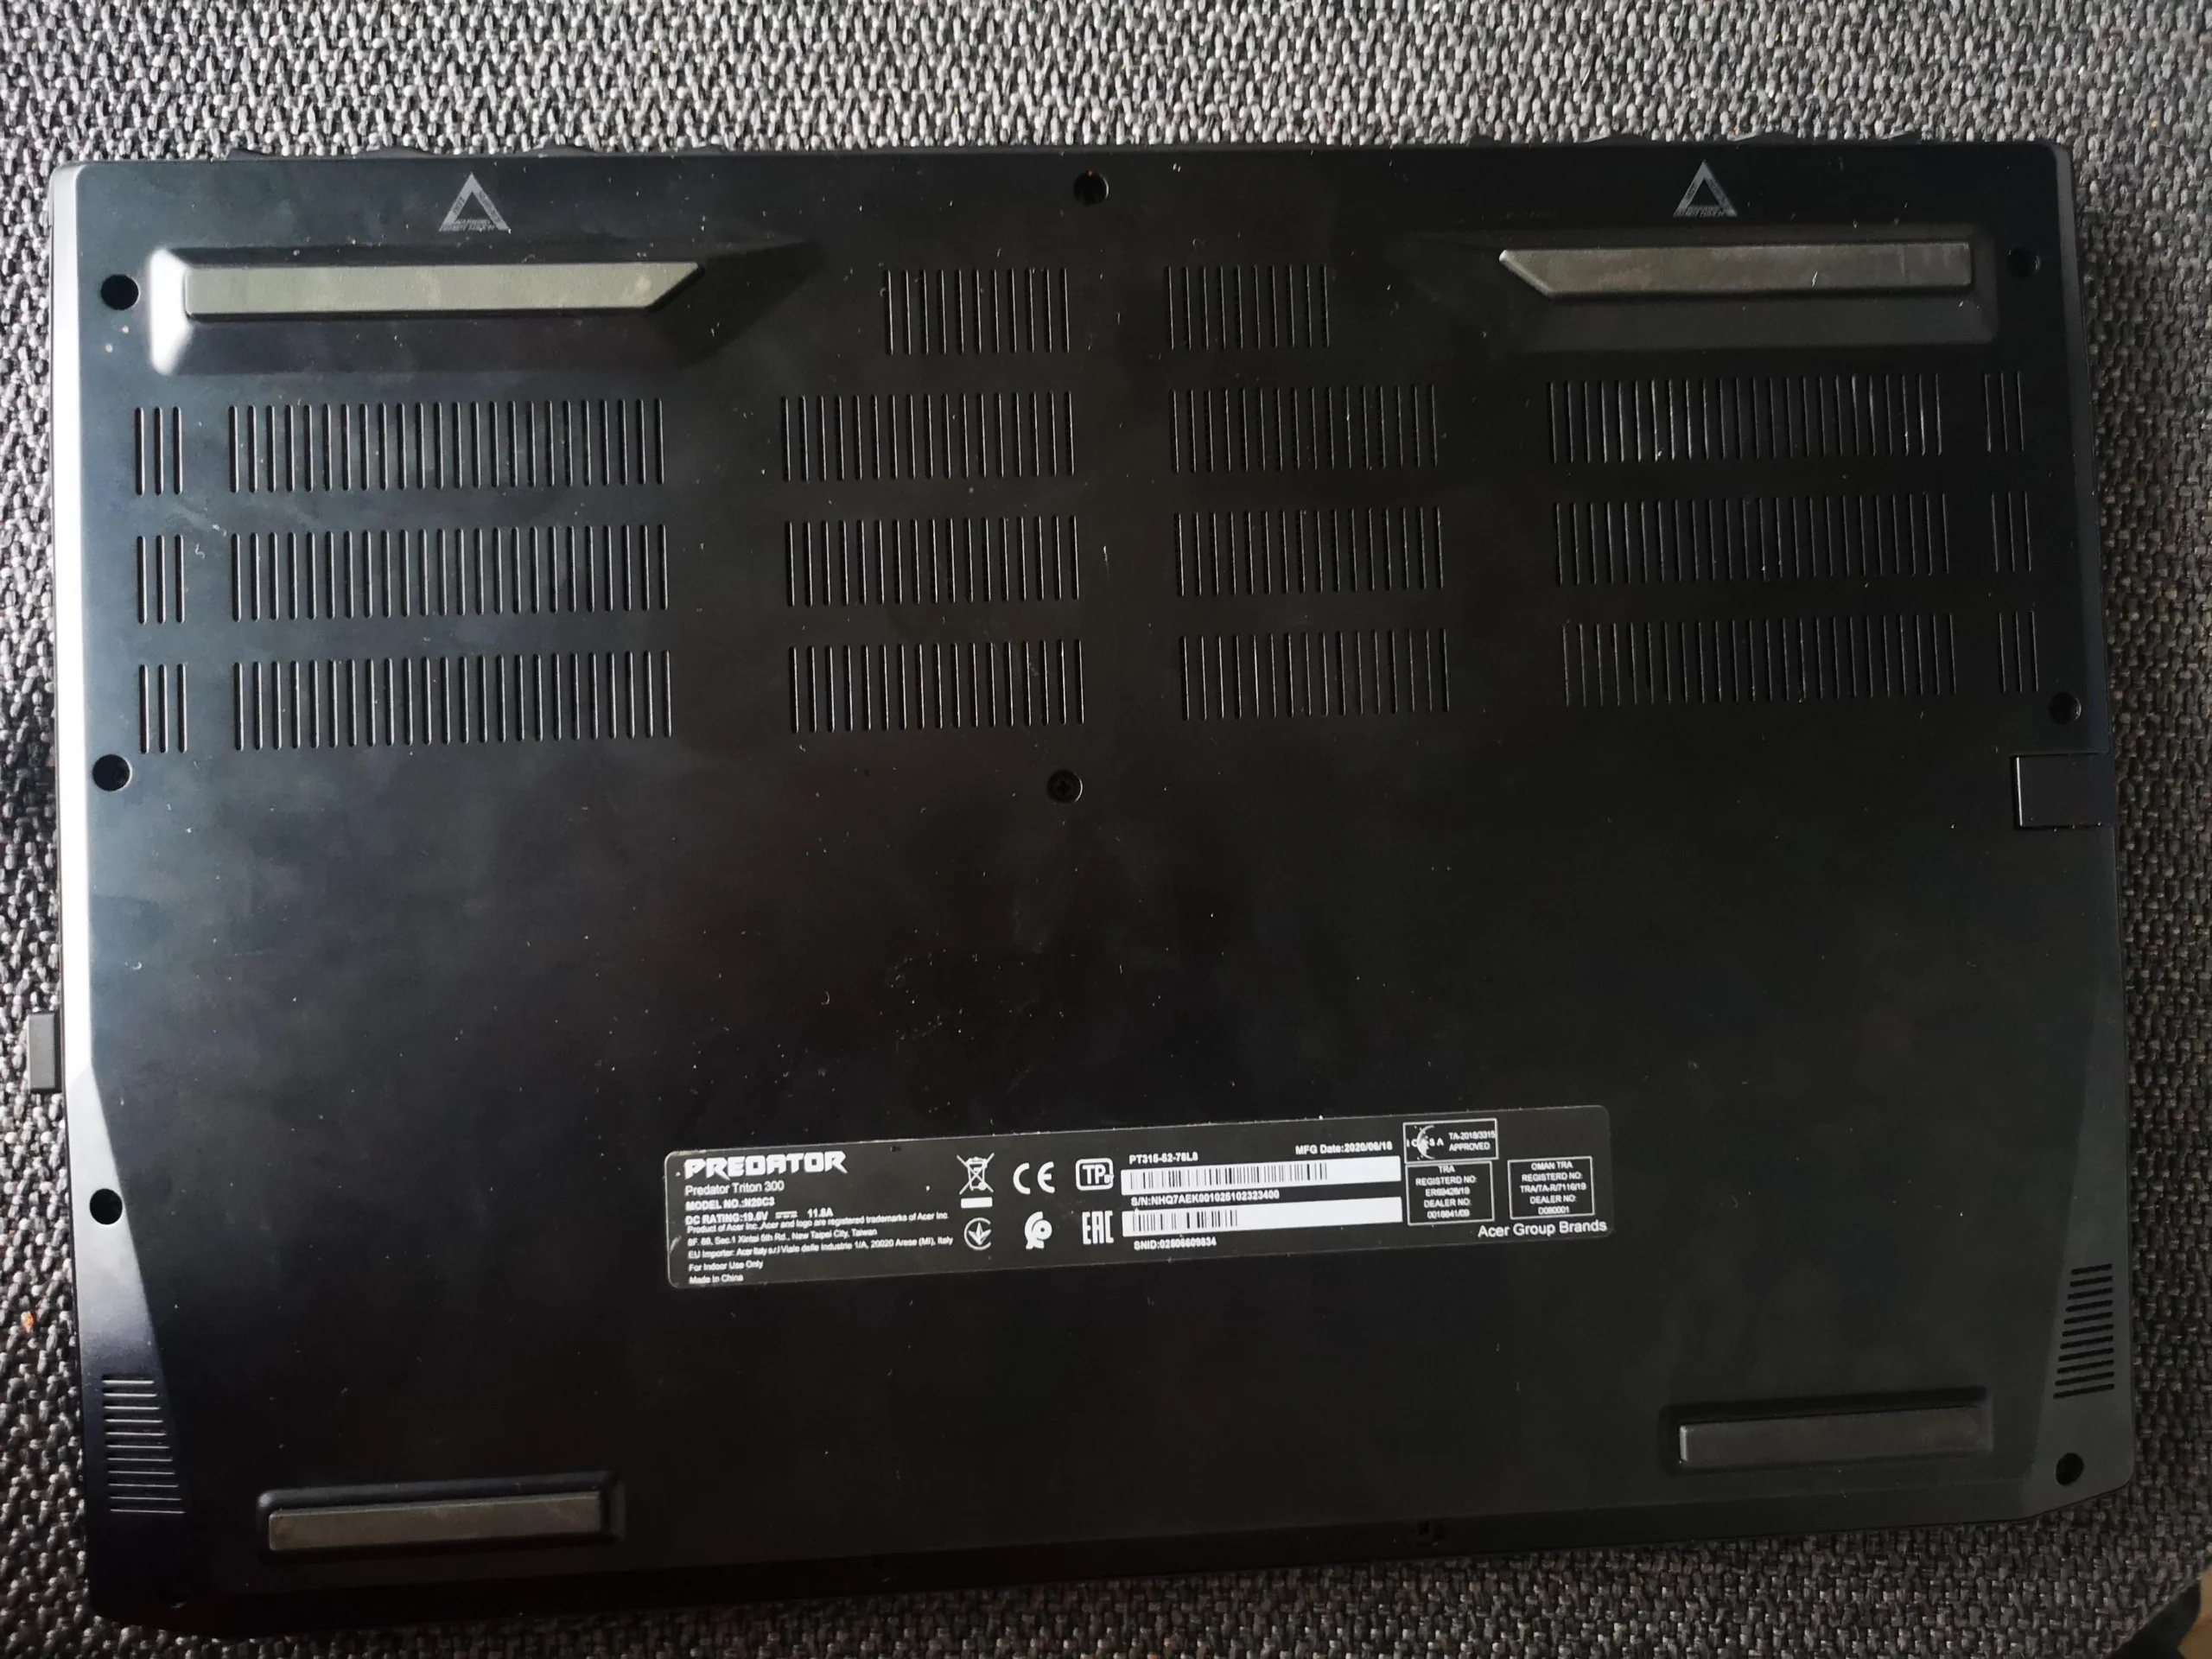
The removable bottom cover had a vented panel
The base photo shows a broad vent pattern. Airflow begins here, and lint stuck to the inside face can remain even when the external vents look tidy. Clean the removable panel away from the exposed electronics.
Before opening your own machine, match its exact Acer model and screw positions. The blue-trim Predator family includes variants, and clips or cable routes can differ.
04 / Small parts matter
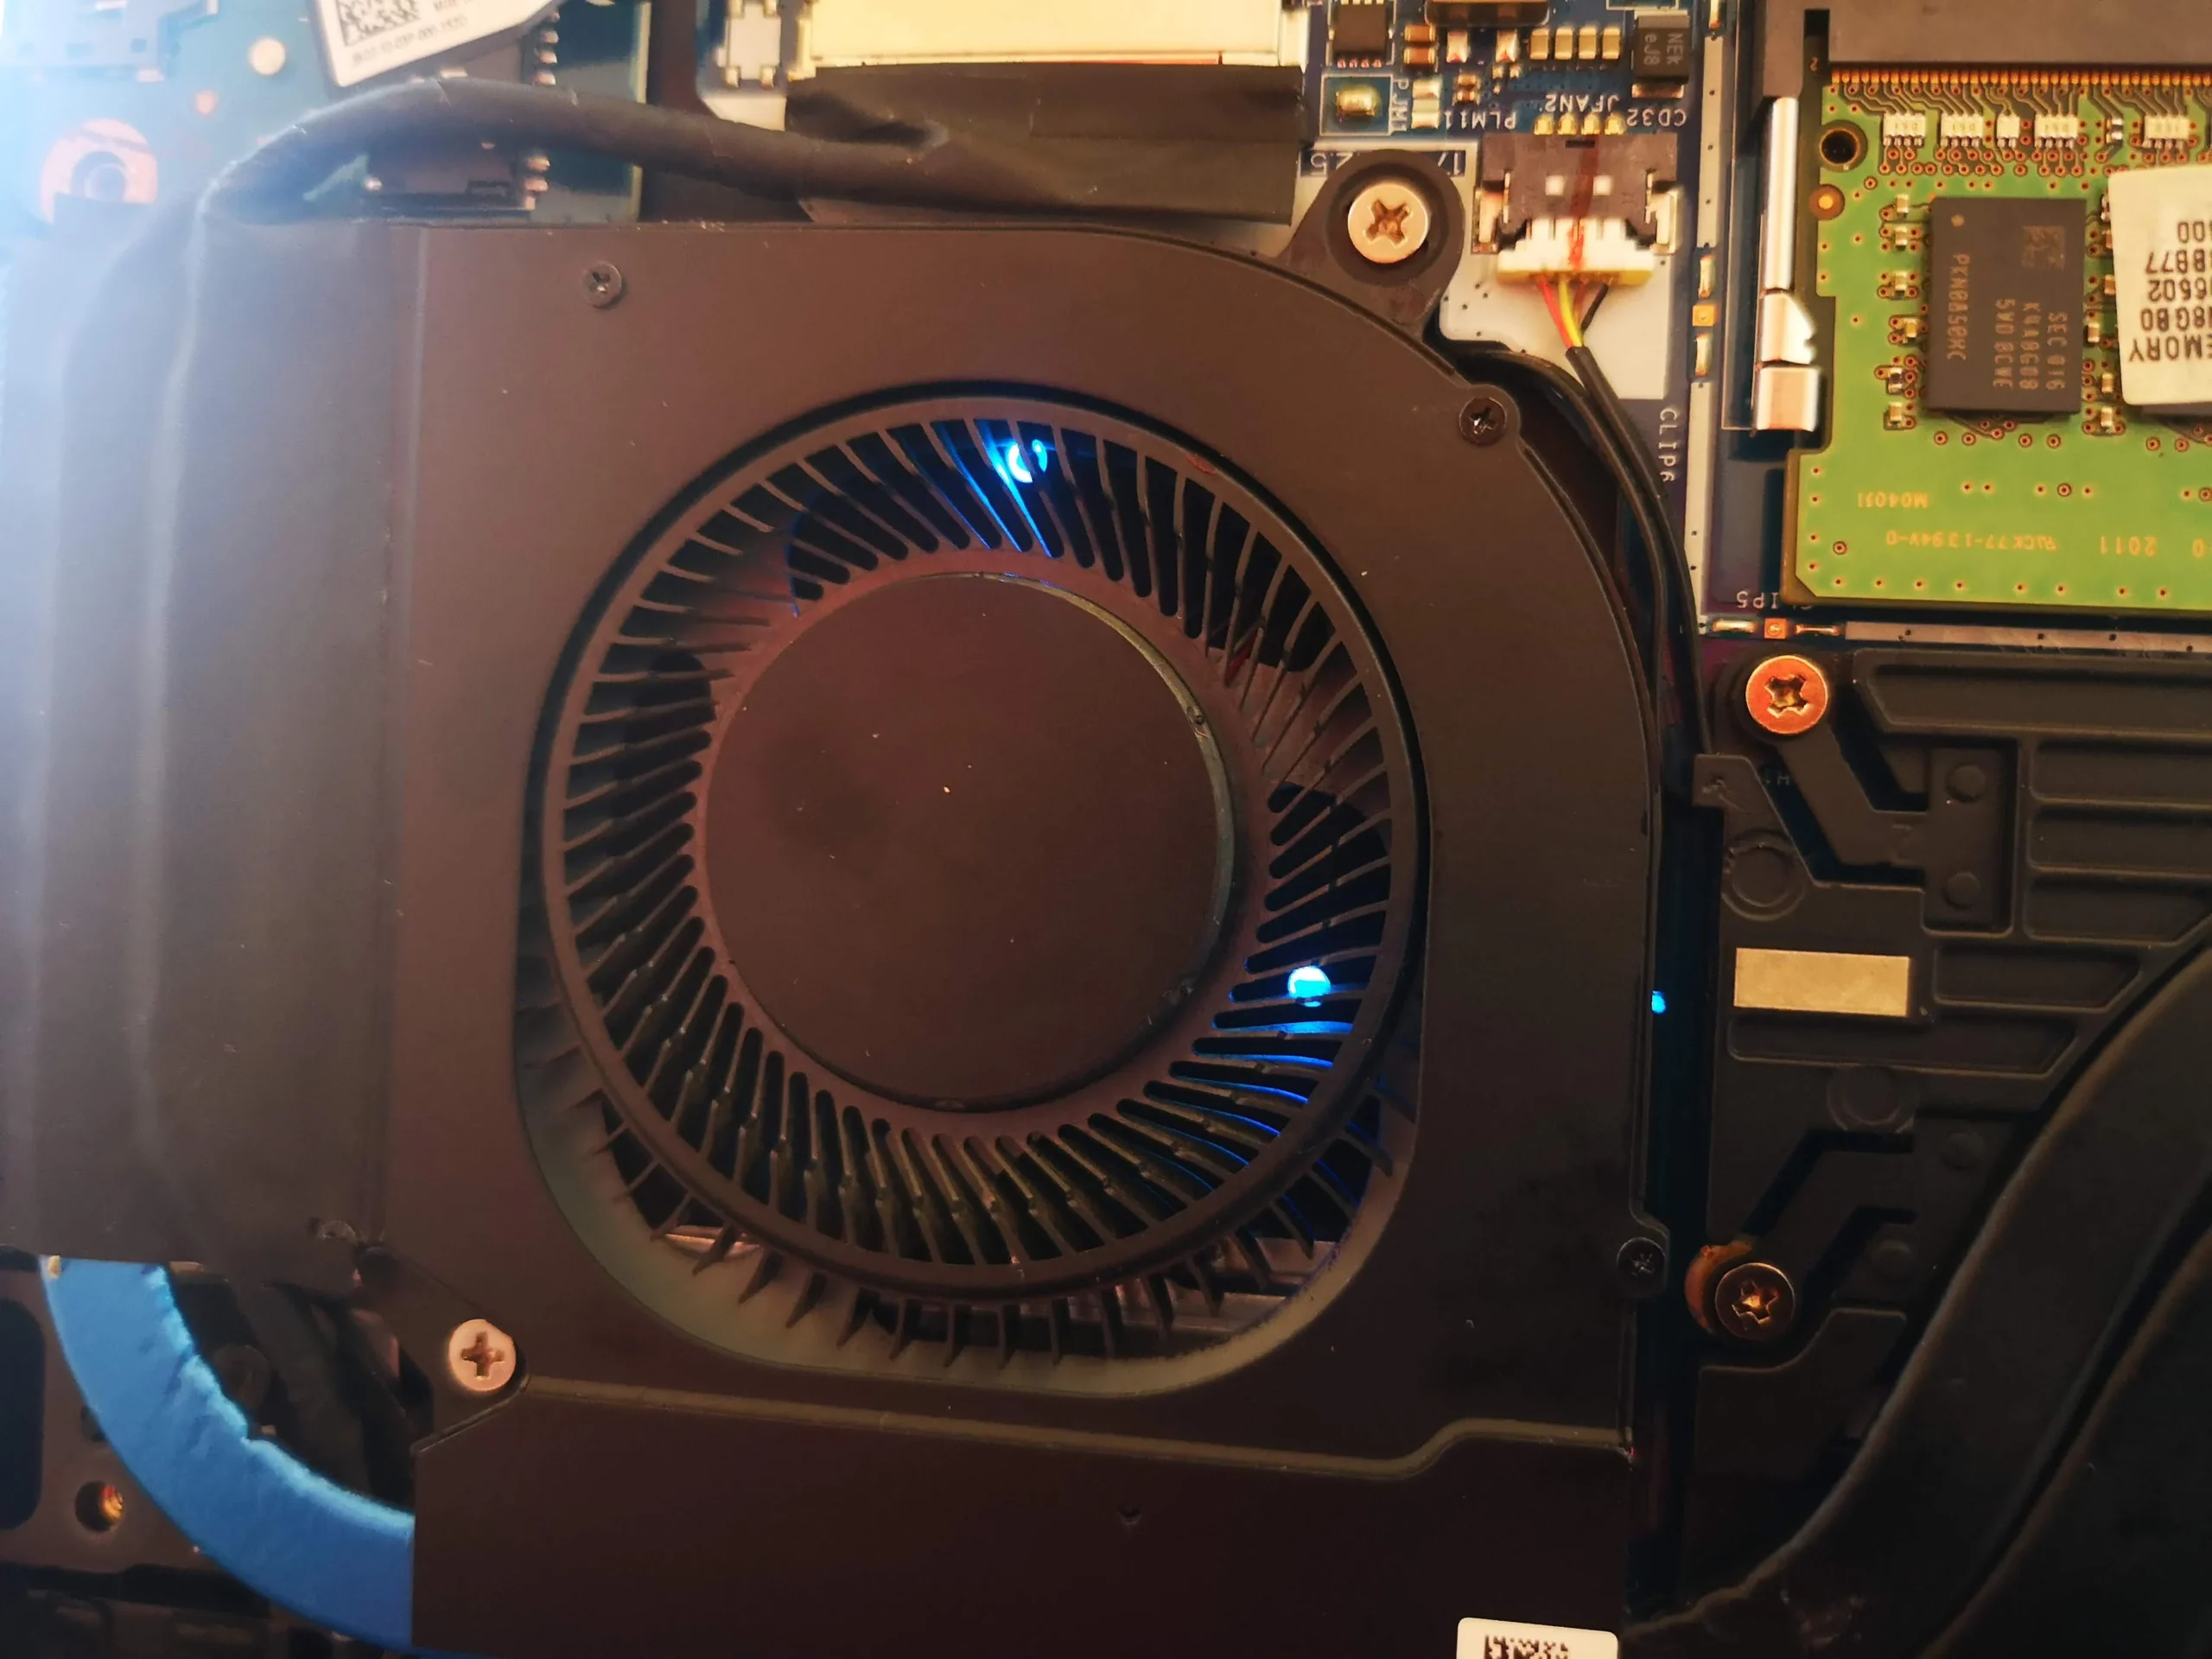
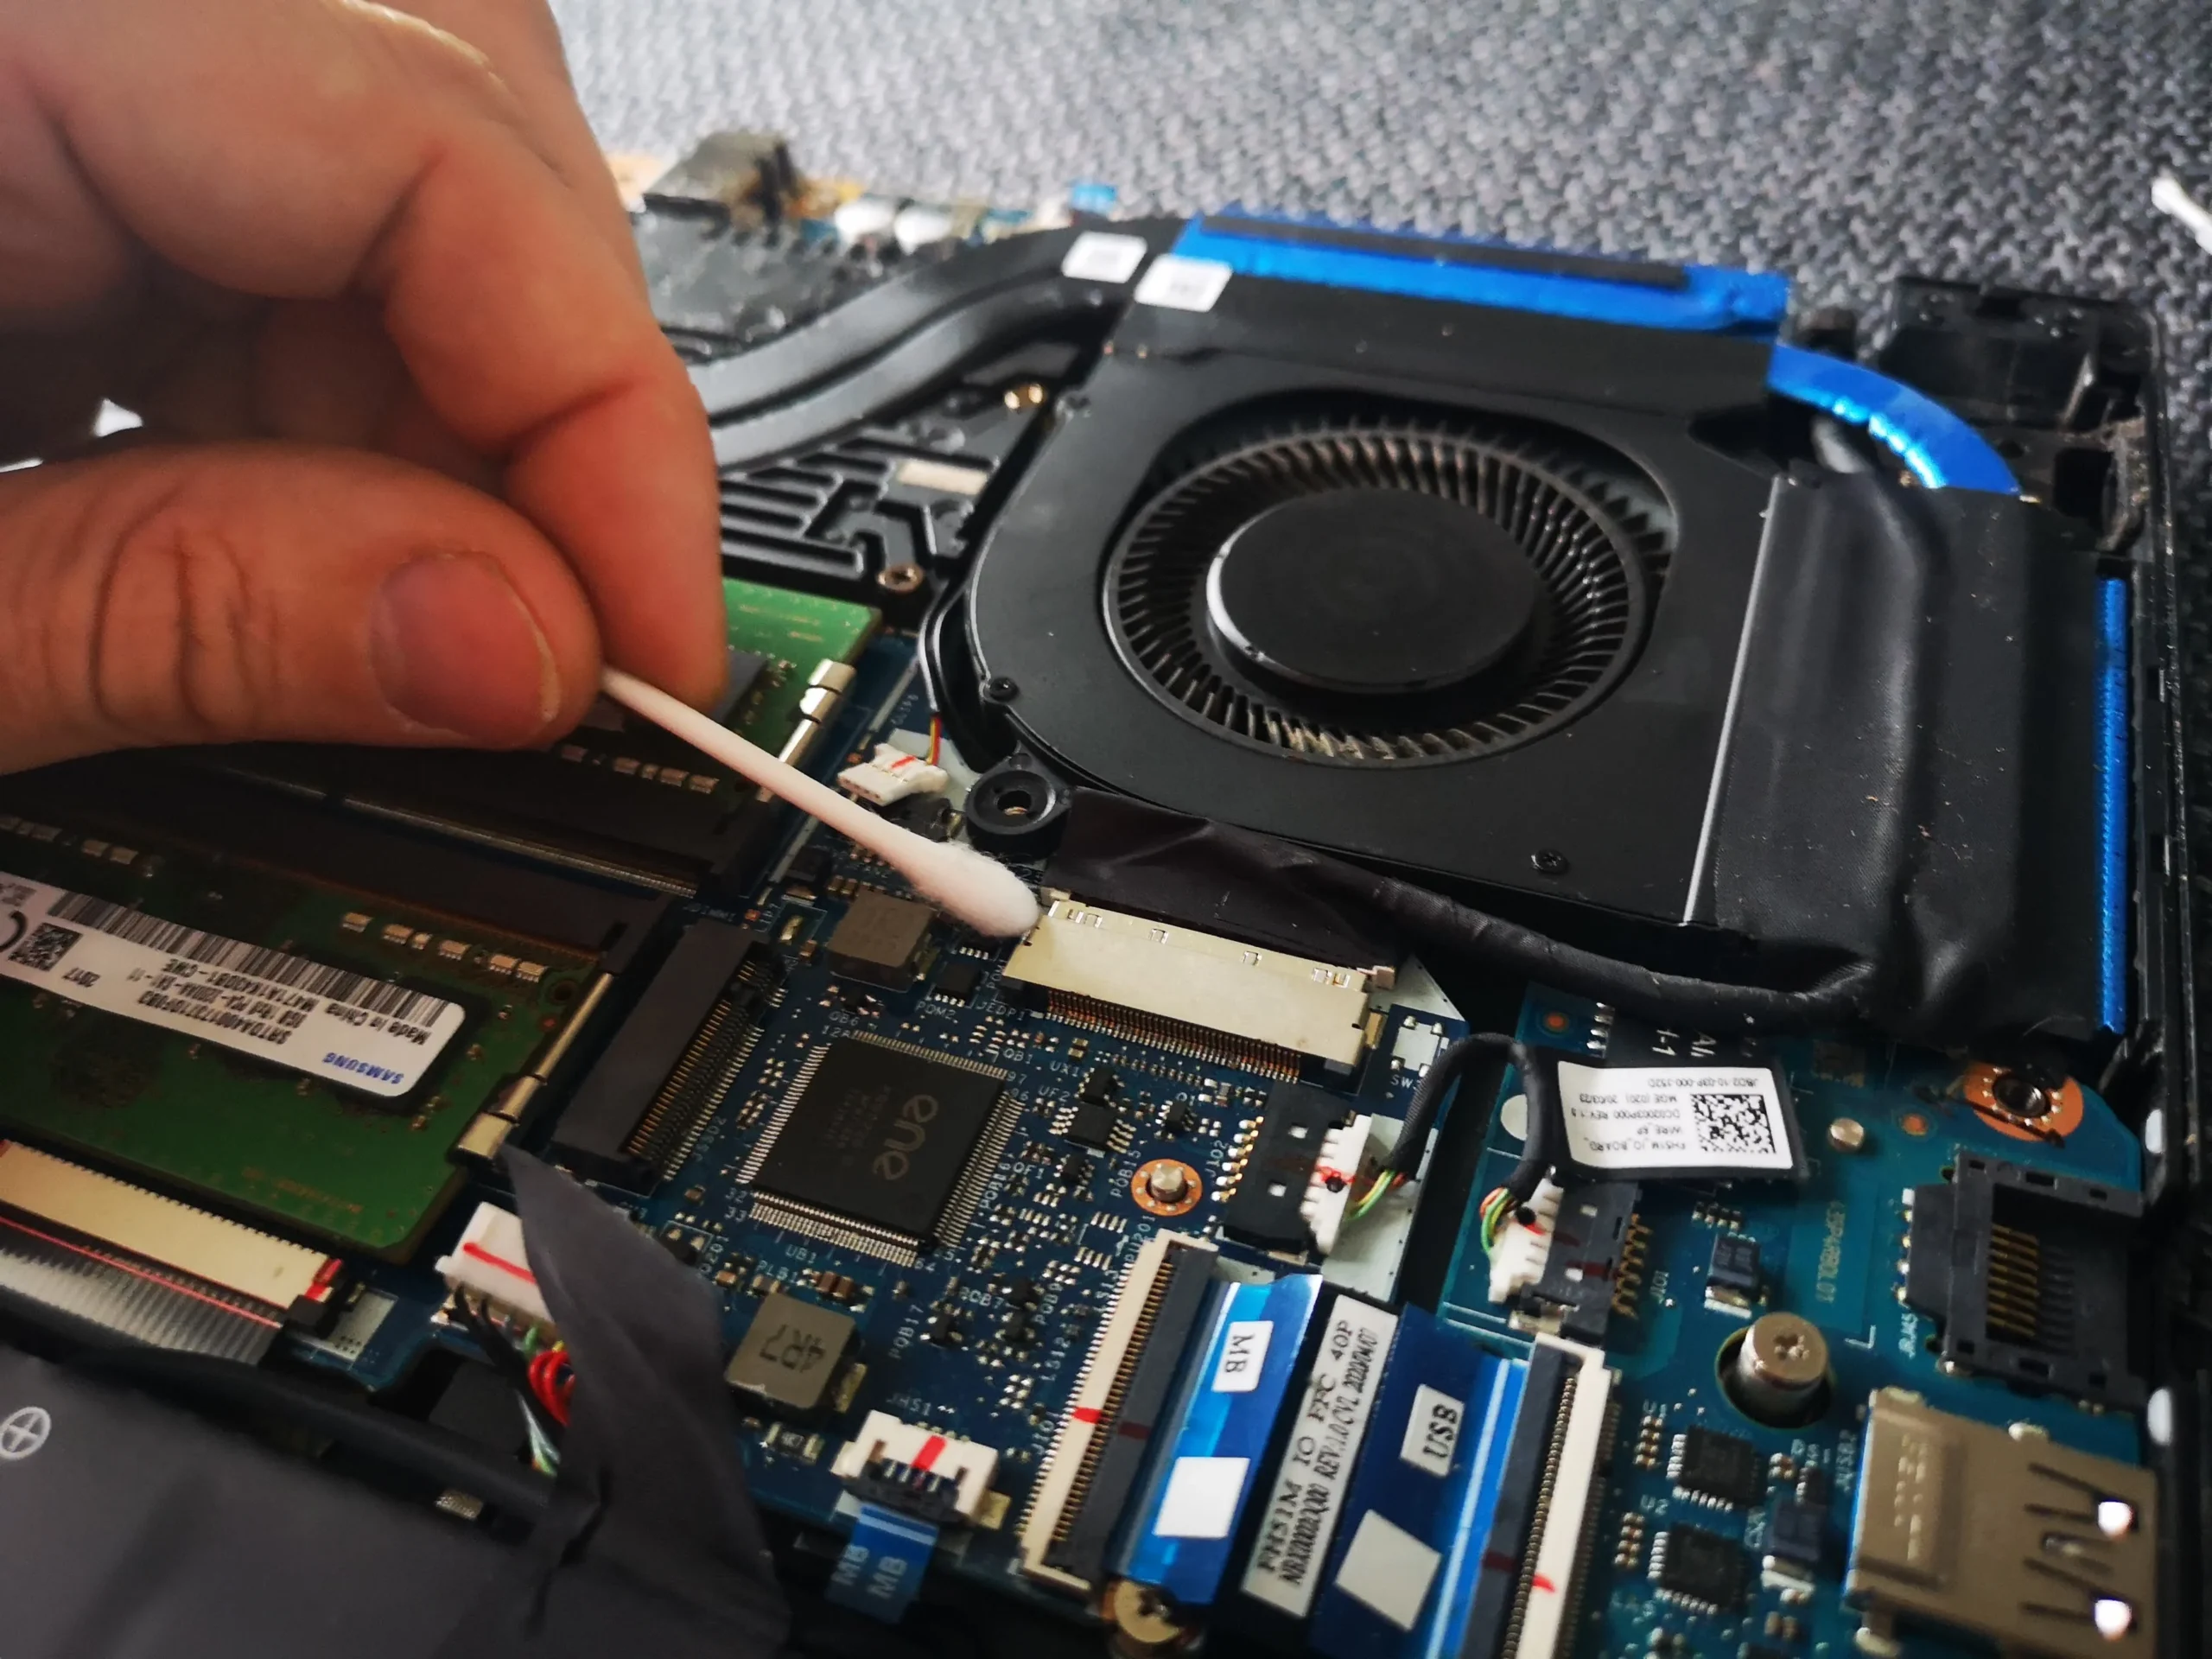
Fan and battery leads needed careful reconnection
The photo sequence includes close views of small board connectors and a hand working beside a fan. These plugs are more fragile than the outer cover screws; pulling on wires instead of a connector body can damage them.
Once both fans are cleaned, route their leads clear of the impellers and reconnect the battery as the model's service procedure requires. Then check for normal fan response before calling the job complete.
The engineer’s takeaway
The value in this Predator archive is the two-sided layout. The left and right blower, their fin exits and the base intake each deserve a check; gentle brushing and careful reconnection matter as much as opening the cover.
Before you open the laptop
Can you clean this Acer Predator yourself?
Shut down and unplug the charger. Find the exact model's service instructions, note screw lengths and photograph the opened chassis. Disconnect the internal battery before working around exposed connectors where the procedure directs.
Use a soft brush or controlled air with the fan restrained. Do not pull a fan lead by its wires. If access requires lifting the heat-pipe assembly, be prepared to restore all disturbed paste or other thermal materials correctly.
After the clean
Checks after reassembly
The laptop should boot without a fan error or scraping noise. Under a suitable workload, listen for both fans responding and feel for air at the intended exits.
If you logged earlier temperatures, compare under the same workload and room conditions. This archive has no reliable paired readings, so it cannot support a numerical cooling result.
Questions from owners
Acer Predator twin-fan cleaning FAQs
Answers prompted by this machine's two blowers, vented base and delicate connectors.
Why clean both Predator fans?
Dust can collect unevenly. This laptop has a blower at each edge, so both fan faces and outlet fins need inspection.
Can I brush a fan while it spins?
Hold the rotor still. Fast free-spinning during cleaning can stress the fan and makes it harder to remove dust carefully.
Do I need to remove the base to clear the intake?
An external wipe helps, but lint on the inside face may require opening the panel. Use the service instructions for the exact model.
Why photograph small connectors before cleaning?
The fan and battery leads are easy to misroute or leave unplugged. A clear reference helps safe reassembly.
Is this a particular Predator Helios model?
The photographs establish an Acer Predator laptop, but the precise commercial submodel is not verified here.
Was a temperature improvement measured?
No paired thermal test is documented in this photo set.
UK Acer Predator cleaning enquiries
One Predator fan louder than the other?
If you are in the UK, tell us the exact Predator model from the bottom label, whether the noise comes from the left or right, and when it happens. Add your postcode to the form.
Mention if someone has already removed the base or cooler. That helps us plan inspection of both fan outlets and any disturbed thermal contact.
Read about our laptop fan and cooling service, then use the form to tell us your computer model, symptoms and UK postcode.
Free to enquire · No obligation to book. We discuss the proposed work and price before you decide.
The workshop photos
Acer Predator twin-fan cleaning gallery
Open the workshop views of both fans, controlled brushing, the vented base and small connector access.