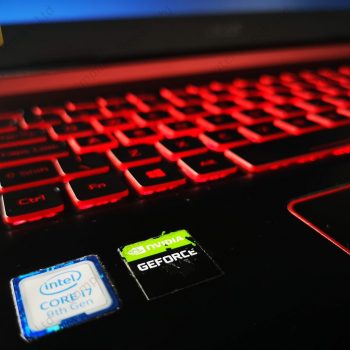
Acer Nitro gaming laptop fan cooling system cleaning and repasting
Acer gaming computer is overheating? Fans are super loud? Laptop gets very hot when gaming?
Your laptop need a proper fan cleaning and repasting.
You can do it yourself or you can call a professional to do it right at your home. You can find instructions below, but just in case you’ll decide that it is too difficult – you can check our laptop fan cleaning service
HOW TO CLEAN ACER NITRO LAPTOP FAN
TAKE OFF BACK COVER
Put your laptop upside down on the non slip material. Try not to use towel or any material that can cause static electricity as this can damage your laptop internal components.
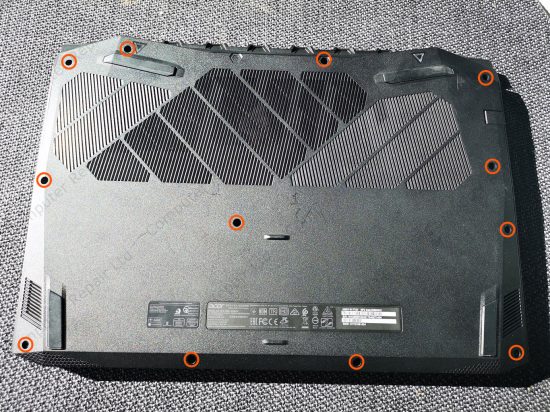
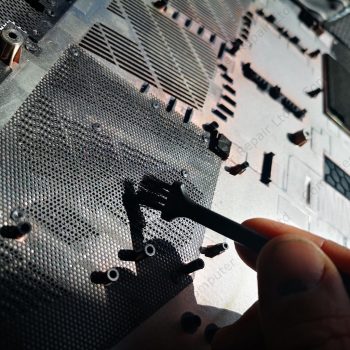
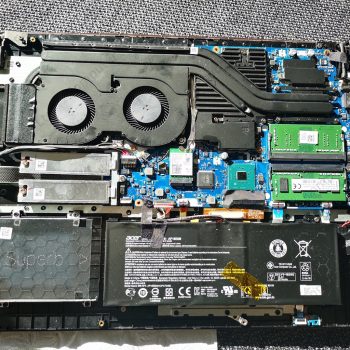
Unscrew all screws showed in the photo using small precise screw set. Do not use standard big standard screw drivers as they can damage the screws. It is very difficult to open the back cover if one of them is stuck.
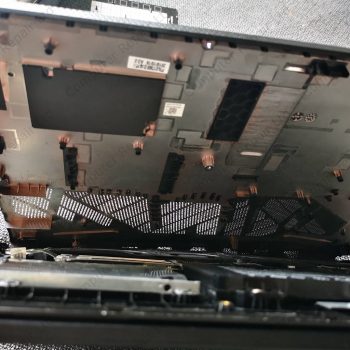
Use special tool to open the back cover. Do this carefully and all over perimeter.
Do not use any metal opener or knife as this can damage your cover.
Take your time and open it slowly and thoroughly.
DISCONNECT BATTERY
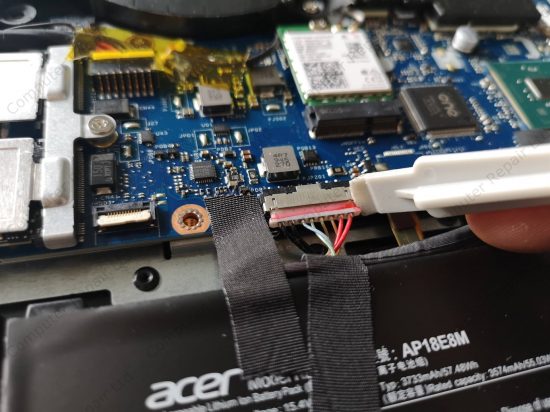
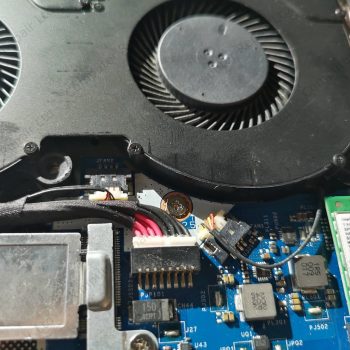
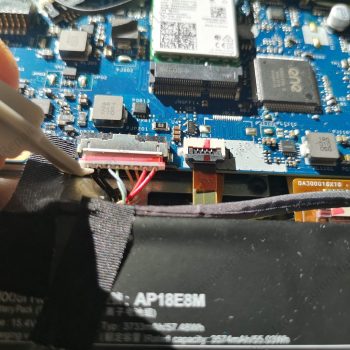
First of all disconnect the battery. Check the cable that goes from the battery to the motherboard. Use plastic pin to do that.
Try not to damage any wires as this will result in battery fault.
REMOVE THE SCREWS
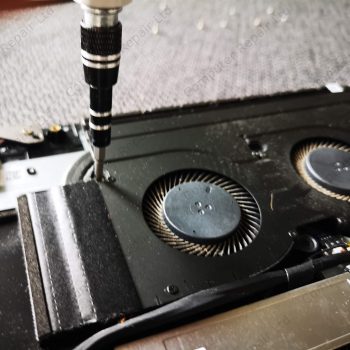
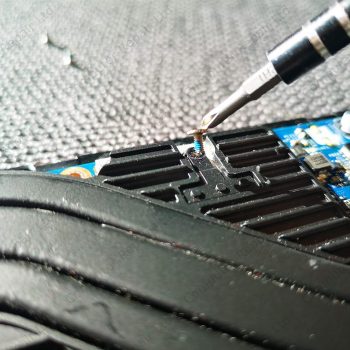
That holds cooling system. Again use precision screw driver to prevent damage to the screws.
There are 7 screws that holds CPU and GPU cooling pipes to the motherboard. Remove them all and put in the same pattern on the magnetic mat.
You will need this to put the screw in exactly the same place when assembling the laptop.
DISCONNECT FANS
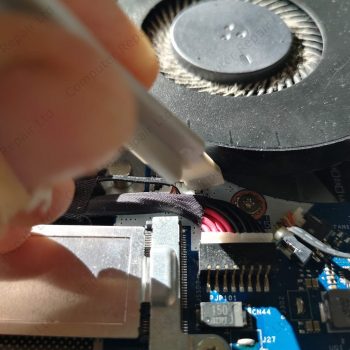
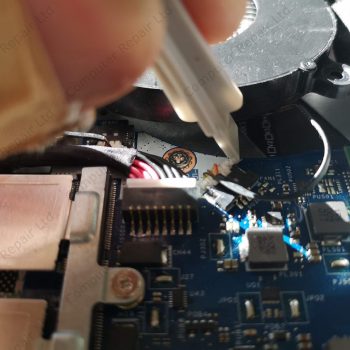
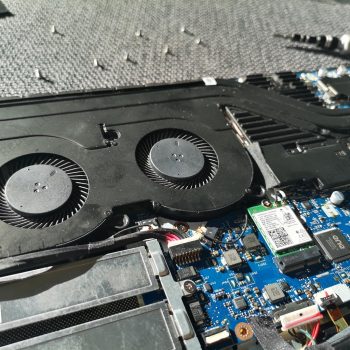
Disconnect the fans from the motherboard. To make it easier disconnect the power socket as well.
Use plastic pin for this to not damage any cables and connectors.
TAKE OFF COOLING SYSTEM
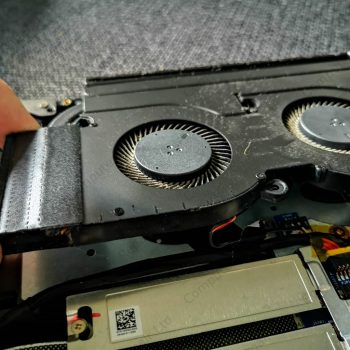
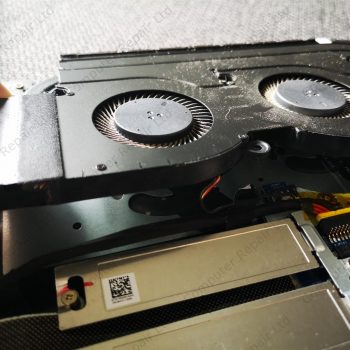
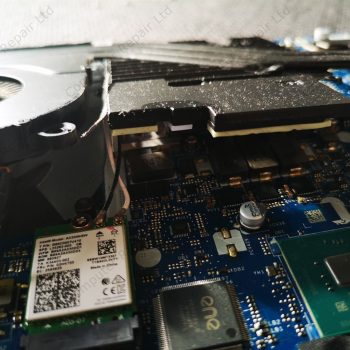
Carefully take off the whole cooling system. Use plastic caps to pull it from the motherboard from all sides.
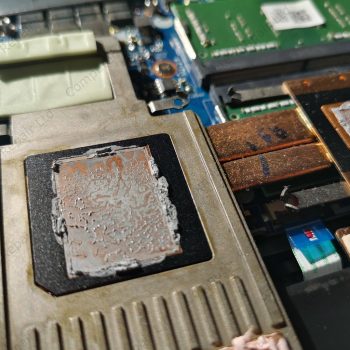
Heat makes cooling paste to dry. This leads to pads stuck to the motherboard. Never use force while taking off cooling part as this may result in CPU, GPU or other chipset damage.
REMOVE DUST
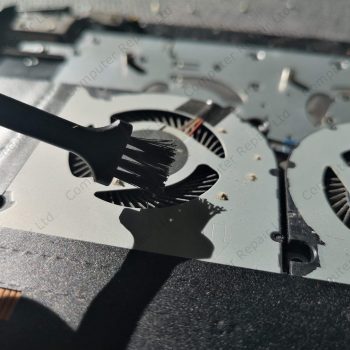
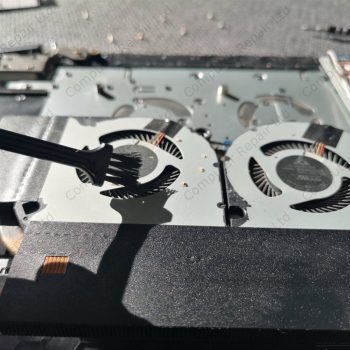
Remove dust from fans using soft brush first. Remove dust balls between grills and fans using tweezers.
Use compressed air or your lungs to blow away excess dust from grills and fans. Just don’t let the fans to spin by holding them with fingers. Fast spin speeds can lead fan wings or fans itself to brake down.
REMOVE DRY PASTE
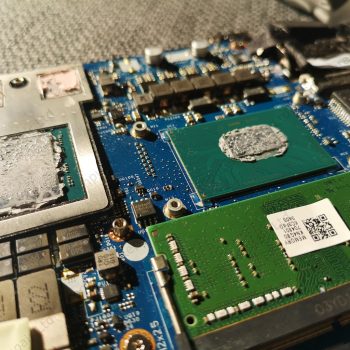
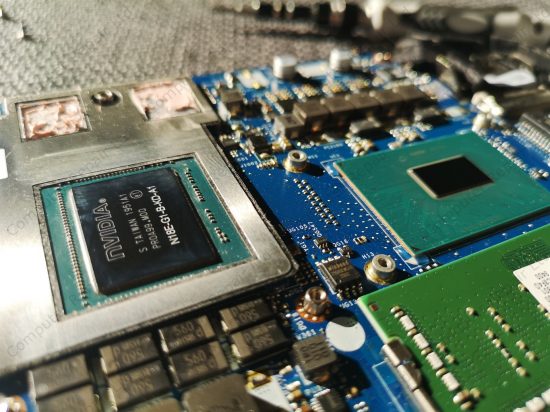
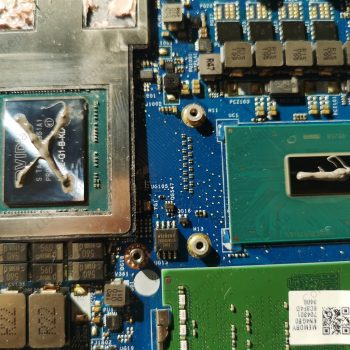
Carefully remove all paste from laptop CPU and GPU. Remove paste from cooling part as well.
Use towel paper and soft brush to remove old cooling paste. Look pout for dried parts of paste not getting into motherboard, as this can cause problems later.
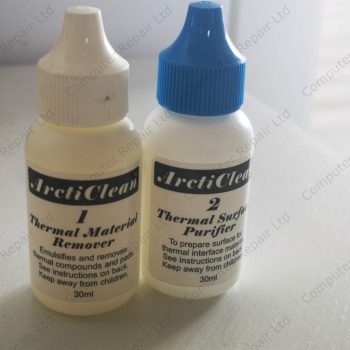
Use special liquid to remove very dry cooling paste and liquid to clean cooling part.
REPLACE COOLING PADS
Clean all the chipsets from old cooling pads.
Replace all cooling pads. Use precise cooling pad height as too thin cooling pads can lead to reduced cooling performance for all chipsets.
REPASTE
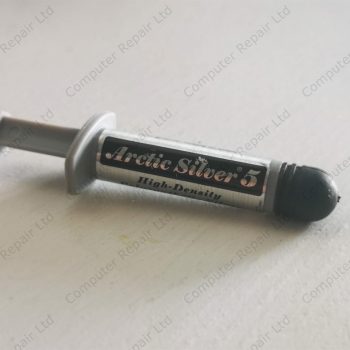
Put small amount of high quality cooling paste on processor and graphic chipset.
If the chipset is bigger, such as GPU, we recommend making an X with the paste to cover whole chipset.
If the chipset is small, such as CPU, we recommend making the line with cooling paste.
Do not put too much cooling paste as this will lead paste overflowing chipsets and this will not help to cool them properly and even make the things worse.
REASSEMBLE
Carefully put cooling parts back where they belong. Try not to wiggle cooling system as this can lead cooling pads and cooling paste from chipsets to stuck to top part.
Try to put cooling part in place 1 cm above chipsets and when it is aligned properly, just push it into the place. This way pads and paste will stick directly into the dedicated cooling part places.
Reconnect both fans and power socket to the laptop motherboard. Put all screws back into they original places. Don’t tight them too much, but don’t let them loose as well. Find this golden spot in the middle.
BATTERY AND COVER
The last thing you need to do is to connect the battery. Carefully put back the connector where it was before laptop cleaning.
Examine the laptop carefully. Check if everything is connected properly and if all parts are in their original places.
Clean both sides of the laptop bottom cover from any dust and put it back into the place. You’ll need to use your finders and some gentle push to put it into the place. You’ll hear click when it will be in the right space.
Check if the bottom cover stays right in the place and there is no gaps between it and laptop main case.
Put back all the screws into their original places.
TEST TEST TEST
Try to turn on the Acer Nitro. If the laptop is starting fine, test it further. Wait for a while and check if both fans are spinning. If both fans are spinning and there is no weird unusual noise – good job. Cleaning almost done.
Next and the last step to test other parts – touchpad, keyboard, wifi, sound – all must be tested. If everything is working fine – you’re done. You have cleaned your Acer gaming laptop fan and cooling system. You’ll notice lower heat and fan noise while using the laptop straight away.
