DIY laptop cleaning – what is safe and what is risky
When a laptop starts running hot, sounding louder than usual, or blowing dusty air, it is completely normal to think about cleaning it yourself – especially if you need it for work and cannot be without it. Some basic cleaning is safe and sensible. Some common methods are not, and I see the results of that quite often.
This guide explains, in plain English, what you can safely clean from the outside, whether compressed air is a good idea, why vacuums and liquids can cause problems, and when it is better not to push your luck. A careful wipe-down is one thing. Opening the machine or forcing dust further inside is another.
Can you clean your laptop yourself?
A bit of careful cleaning on the outside is usually fine, but internal cleaning is a different job.
For most people, safe DIY laptop cleaning means the screen, keyboard surface, case, and air vents you can reach without taking anything apart. That sort of cleaning is low risk if you are gentle and keep liquids away from the machine itself.
Opening it changes the risk
Once you move from wiping the outside to removing the bottom cover, you are no longer doing basic cleaning. You are working around delicate clips, screws, cables, connectors, fans, and battery connections. That is where a simple tidy-up can turn into a repair.
Some laptops are much harder to open than they look. A cover may feel stuck when there is still a hidden screw, or a clip may crack before it lets go. On slim models and some Macs in particular, parts are packed tightly and there is not much room for mistakes.
I also see damage caused by people who were genuinely being careful. A slipped tool, a pulled connector, or pressure in the wrong place is enough. So yes, you can clean your laptop yourself to a point, but surface cleaning and internal cleaning are not the same thing.
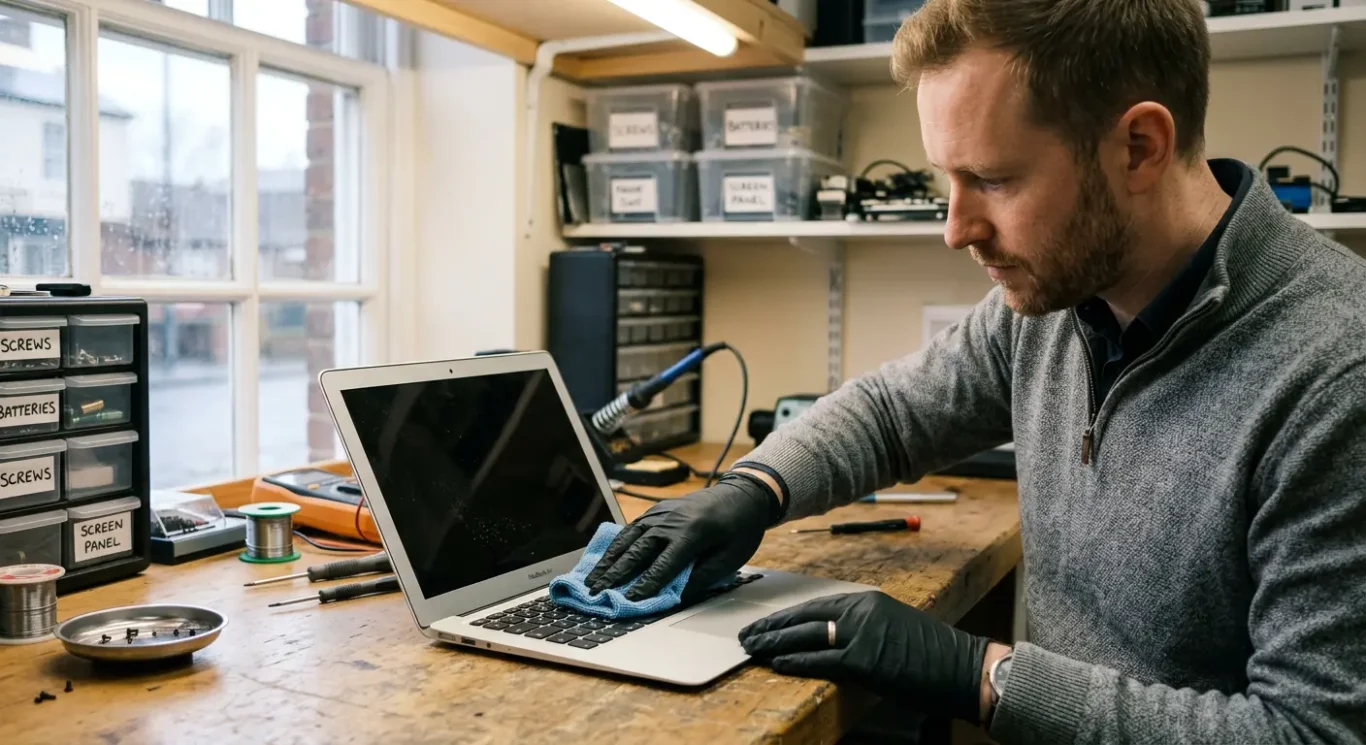
What is safe to clean without opening the laptop
The low-risk jobs are the outside surfaces you can reach easily, as long as you keep it powered off, unplugged, and cool before you start.
A suitable microfibre cloth is usually fine for the screen, and it is also fine for the lid, palm rest, trackpad, and the rest of the case. Keep the cloth only slightly damp if needed, not wet, and never spray anything directly onto the laptop. That is where people get caught out.
Keyboard and vents need a light touch
The keyboard surface can be cleaned gently, especially if it just has dust, fingerprints, or a few crumbs sitting on top. Loose dust around vents can also be cleared from the outside, but do not poke cotton buds, brushes, metal tools, or anything else into the openings. If dust is packed deeper inside, you will not fix that safely from the outside.
One thing I always tell people is to let the machine cool first. A laptop that has been running hot can have warm vents, softened grime, and fans that are still spinning down. It is a small point, but it does matter.
Safe cleaning has limits
If the fan is still loud, the laptop is overheating, or dust keeps blowing out, basic DIY laptop cleaning is probably not going to sort the actual problem. At that point the dirt is often deeper in the cooling system, and forcing a clean from the outside can make things worse rather than better.
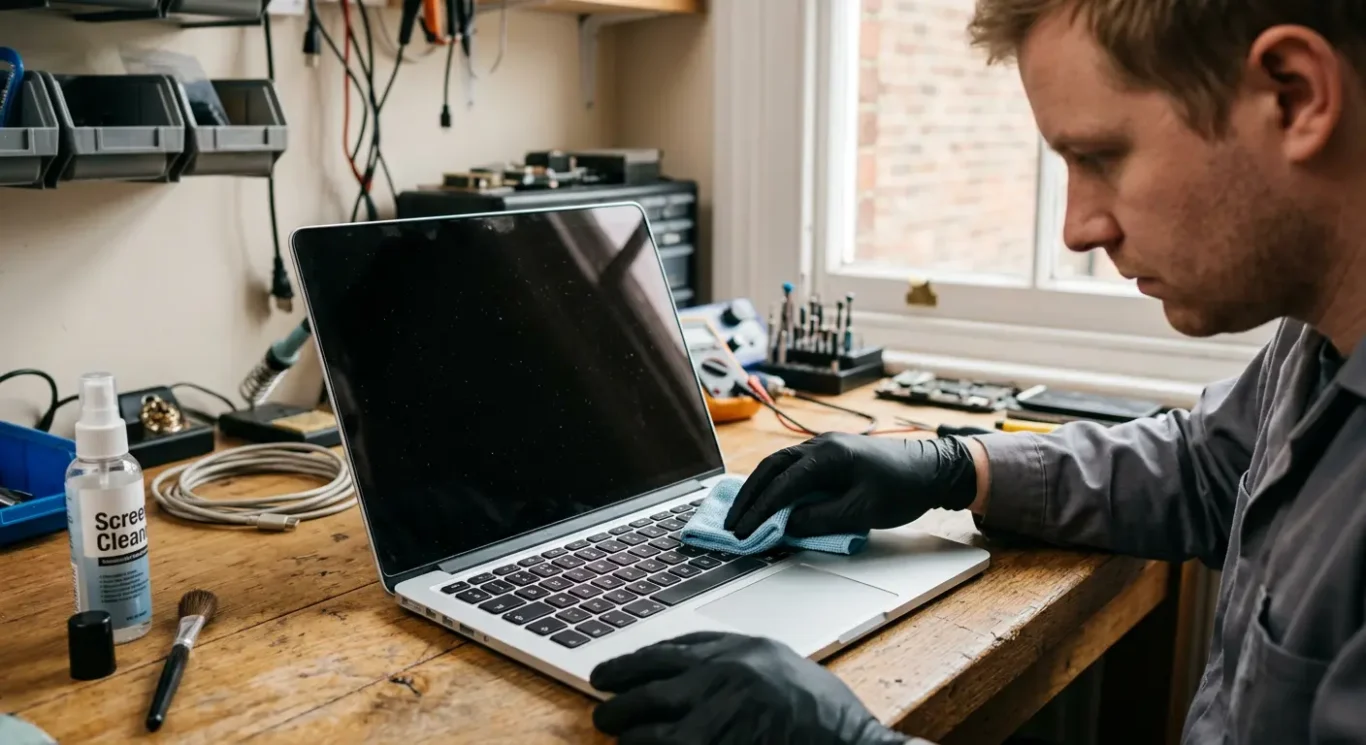
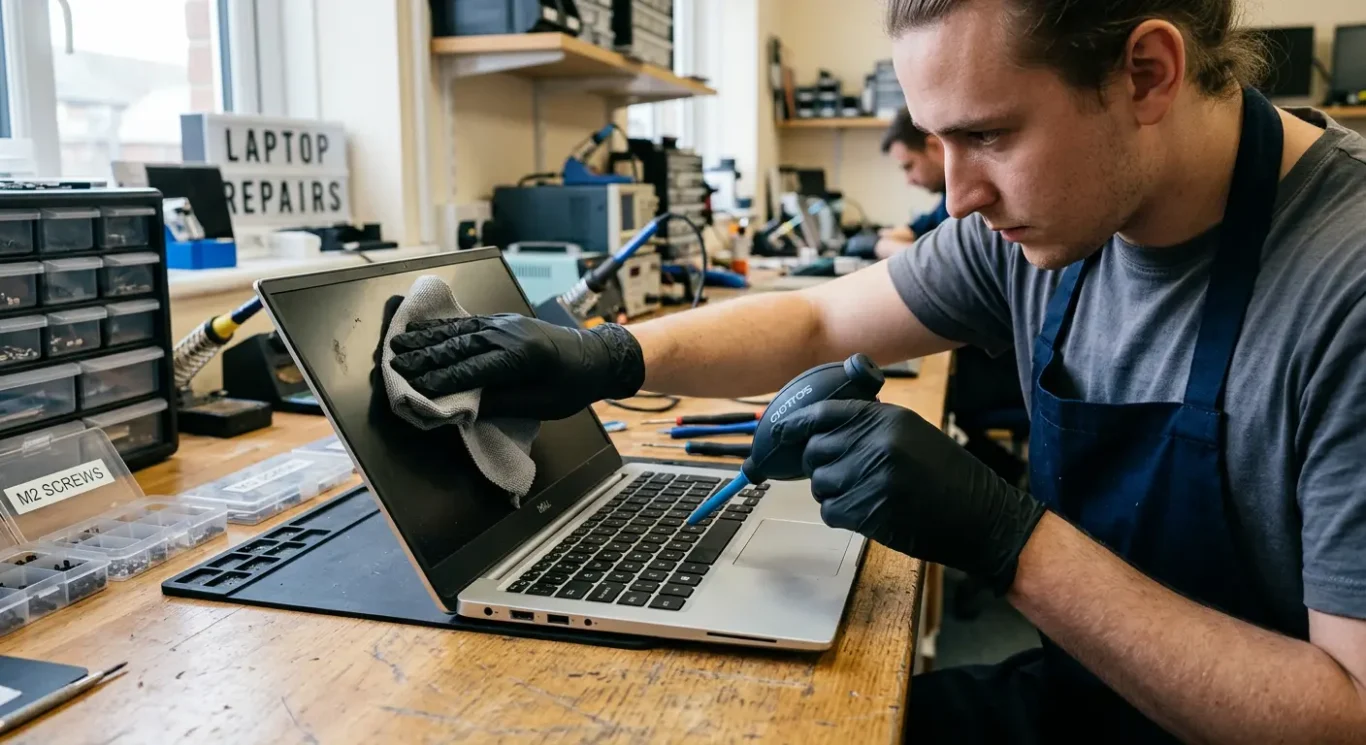
How to clean a laptop screen, keyboard and vents safely
A simple way to tidy the parts you can reach without special tools or unnecessary risk.
Start with the laptop switched off, unplugged, and fully cool. Use a dry microfibre cloth first, because that is often enough for fingerprints and light dust. If something needs a bit more help, use a slightly damp microfibre cloth and keep the moisture on the cloth, not sprayed onto the laptop.
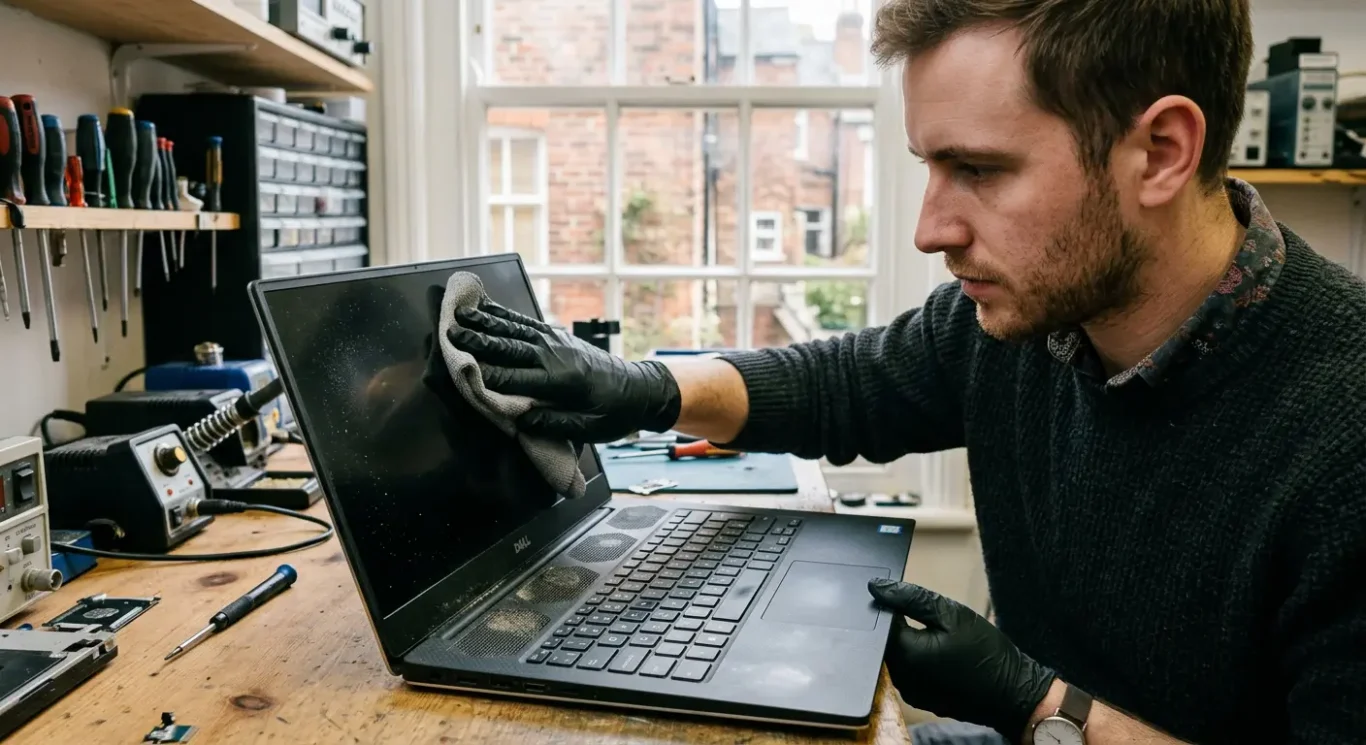
Keep the touch light
On the screen, wipe gently and do not press hard to chase marks. The same goes for the keyboard and trackpad. Too much pressure can mark a screen, loosen a keycap, or push dirt further into the edges.
For the keyboard, tilt the laptop so loose crumbs and dust fall away rather than deeper inside. A few gentle shakes are fine. If bits are sitting around the keys or vent openings, a soft brush can help, but only on the exterior gaps you can see.
Leave anything stubborn that seems stuck inside the vents alone. I know it is tempting to keep going, but that is usually the point where safe DIY laptop cleaning stops being low risk.
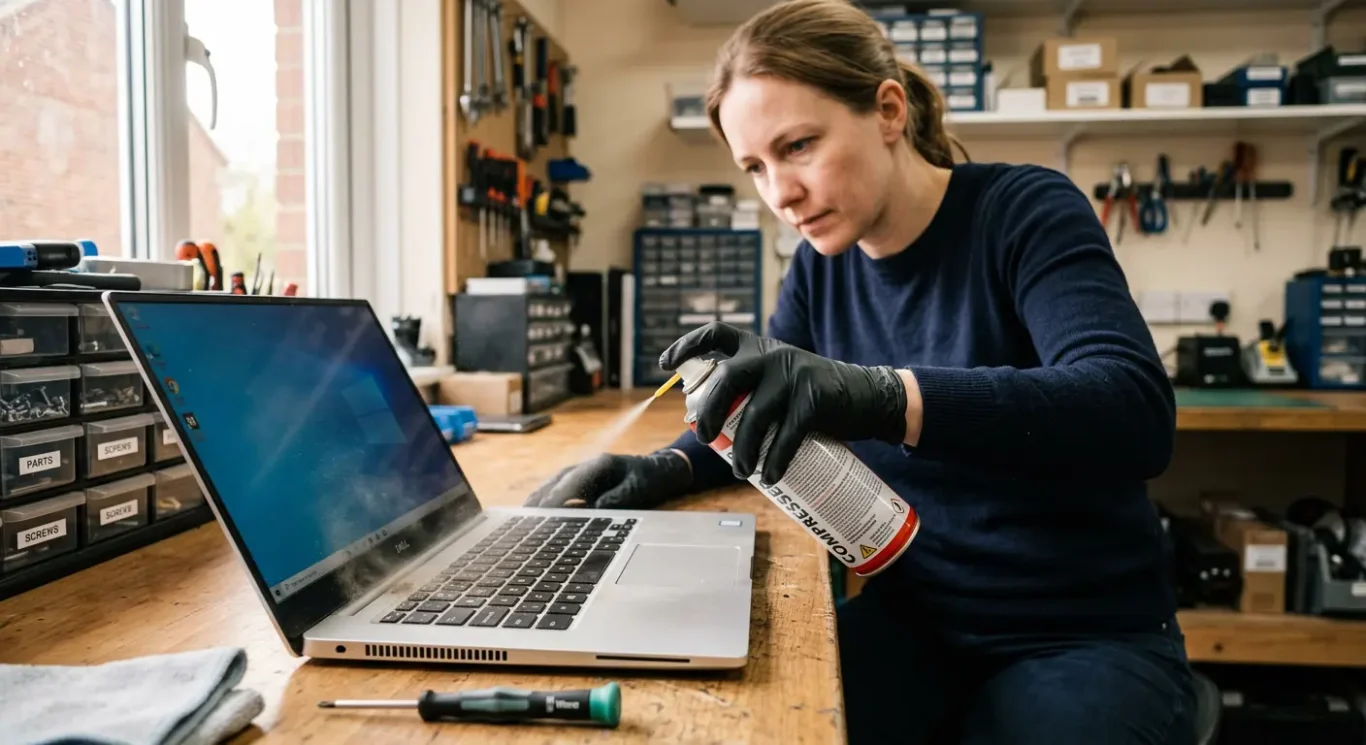
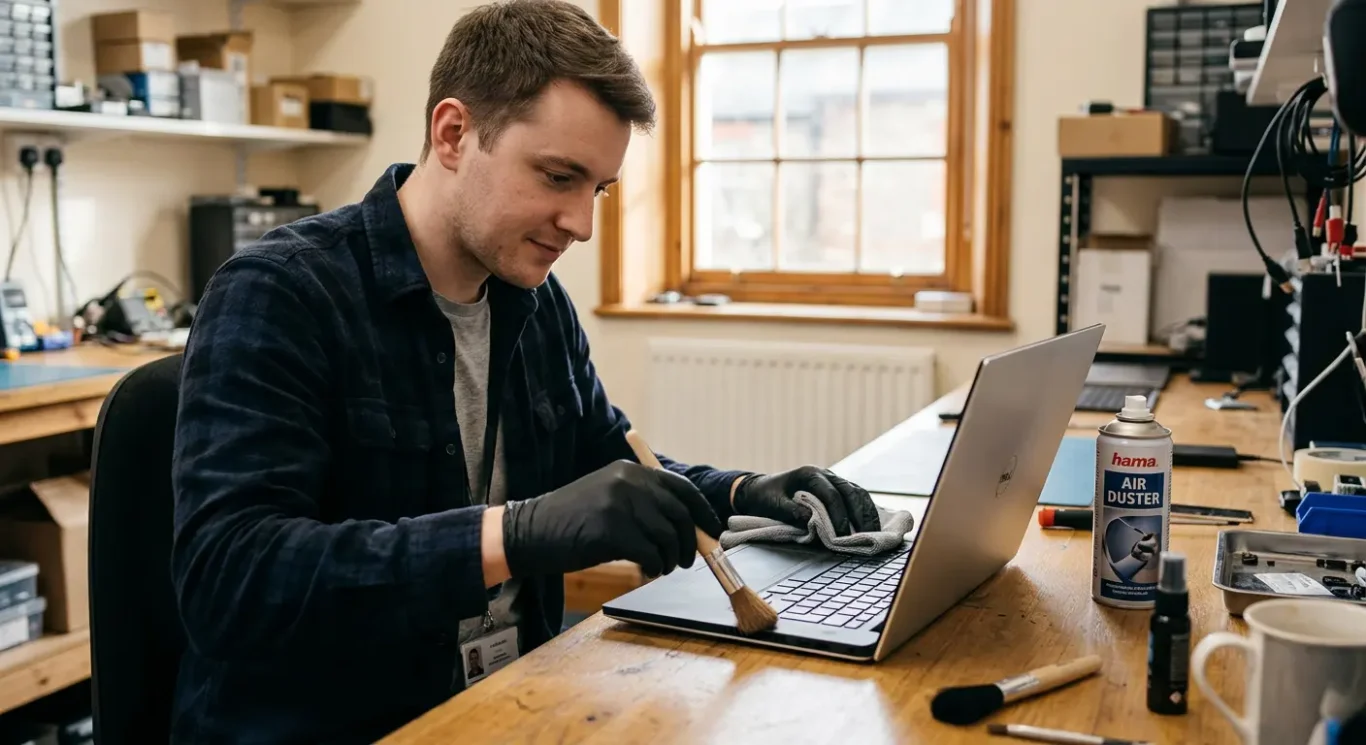
Is compressed air safe?
It can help with light dust on the outside, but it is easy to turn a small clean into a bigger problem if you use it carelessly.
Used carefully, compressed air is usually fine for a light blow around external vents and the keyboard surface. Keep it to short bursts from a sensible distance, and stop if you are just blasting dirt around rather than lifting it away.
How people get into trouble
The common mistake is getting too close and forcing dust deeper into the cooling vents instead of out of them. That can leave the mess packed further inside, where you cannot reach it, and the laptop may still run hot or noisy afterwards.
Keep the can upright while you use it. I would also avoid long sprays or aggressive angles into vent openings, because once you are trying to clear heavy build-up from the outside, you are usually past the point where a quick DIY clean will do much good.
If there is a lot of dust inside, compressed air does not replace a proper internal laptop clean. In those cases the fan, heatsink, and airflow path normally need to be checked properly, and sometimes the issue is not just dust anyway.
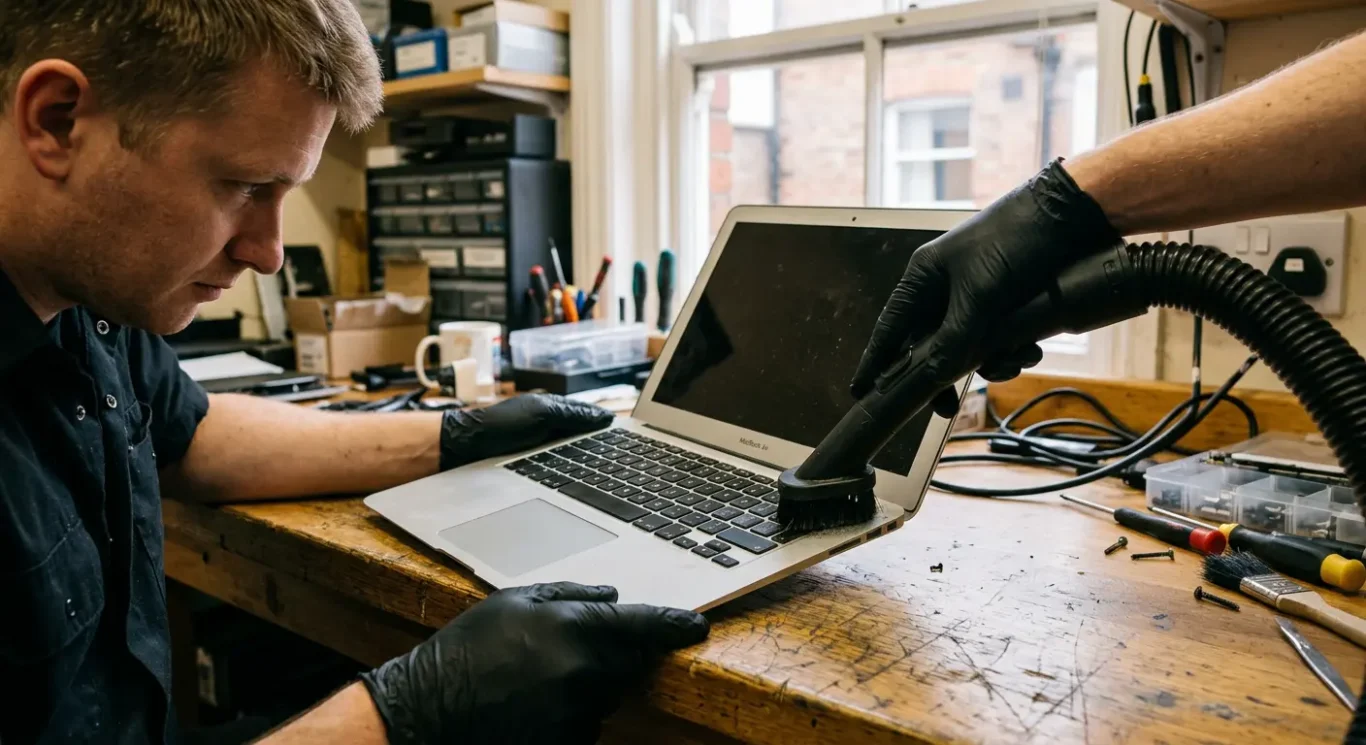
Why vacuum cleaners and household tools are risky
Common cleaning gadgets can do more harm than good on a laptop.
A vacuum cleaner is one of those things people reach for because it feels safer than opening the laptop, but I would be careful with it around keyboards, ports, and vent openings. Strong suction can pull at loose keycaps, strain delicate parts near the edges, and sometimes shift debris into places that are harder to clear properly.
Attachments can be rougher than they look
Brush heads and narrow nozzles are awkward on laptops. They can catch keys, mark the screen bezel, scratch the casing, or knock against charging ports and USB ports. I see this quite a bit on machines that were only meant to get a quick tidy.
Cotton buds, metal picks, tweezers, and similar tools are also a bad idea for DIY laptop cleaning. They usually do not lift dirt out cleanly. More often, they push fluff and crumbs further into the keyboard edges, ports, or vent channels, where the real blockage is still left behind.
A hairdryer is not a safe substitute either. Heat is the obvious problem, but even on a cooler setting it tends to blast dust deeper inside rather than remove it. If dirt is packed in enough that you are thinking about household tools, it is usually time for a proper internal clean instead of more guesswork.
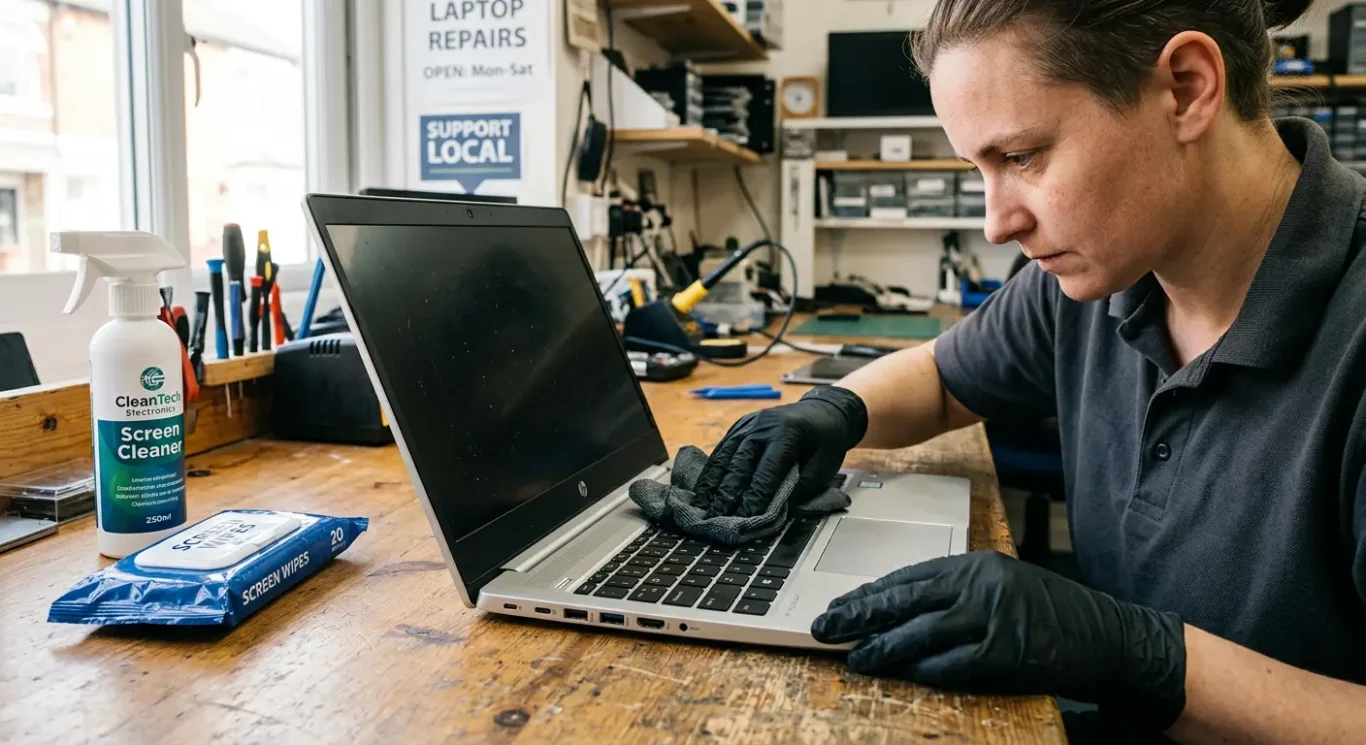
What to avoid when using liquids
Sprays, wipes and cleaning fluids are where a quick tidy can turn into a liquid damage repair.
Never spray liquid directly onto the laptop. Spray lands where you cannot control it, then runs into keyboard gaps, screen edges, ports, and the hinge area. For DIY laptop cleaning, put a small amount onto a cloth first if the surface actually needs it.
Use less moisture than you think
A slightly damp cloth is safer than a wet one. You are trying to lift fingerprints and light grime, not soak the surface. If the cloth feels wet enough to leave visible moisture behind, it is too wet.
I would avoid bleach, abrasive cleaners, and strong household products entirely. They can mark plastics, strip screen coatings, and leave residues that are harder to remove than the original dirt. Alcohol-based cleaners may be fine on some surfaces, but they do not suit every screen finish, so I would not treat them as a universal safe option.
If liquid gets in, stop there
If moisture gets inside, stop using the laptop and get it checked. Do not keep testing it to see if it still works, because power and liquid together are what turn a minor spill into board damage. Sometimes it dries out without lasting trouble, and sometimes it does not – that depends on where the liquid reached.
Can DIY cleaning break your laptop?
Yes, it can – usually through too much pressure, too much moisture, or trying to force dirt out the wrong way.
I do see damage caused by well-meant cleaning. A screen can end up with pressure marks from being wiped too hard, especially near the middle or around the edges. Keycaps can also snap off, or the small plastic parts underneath can get bent, which leaves keys loose, stiff, or not working properly.
Liquid problems are often accidental
The usual story is not someone pouring water into a laptop. It is overspray from a cleaner, or a cloth that was wetter than it seemed. Moisture then works its way into the keyboard, around the screen edge, or into ports, and the fault may not show up until later when corrosion starts or a few keys stop responding.
Dust can get packed in deeper
Fans and vents are another one. If air is blasted in from the wrong angle, or a vacuum is used too aggressively, dust can be pushed further into the cooling system instead of removed. The laptop may still turn on afterwards, so it looks fine at first, but then runs hotter, gets louder, or starts slowing down once the airflow is more restricted.
That delayed effect is what catches people out. A laptop can seem fine straight after DIY cleaning, then develop a noisy fan, dead keys, charging issues, or random shutdowns days later. It does not mean damage is guaranteed, but it is very easy to create a problem without realising it at the time.
Signs the laptop needs professional internal computer cleaning
How to tell when surface dust is not the real issue and the cooling system needs checking properly
If the fan noise keeps coming back soon after you clean the outside, that usually points to more than fluff around the vents. I see this a lot with laptops that sound busy even when you are only browsing, doing emails, or using Word. Internal dust build-up, a worn fan, or dried thermal paste may be involved, but you cannot confirm which one without opening it and inspecting it properly.
Heat that should not be ignored
Strong heat from the base, sudden shutdowns, or a machine that gets uncomfortably hot on light use are all signs to stop guessing. Cleaning alone does not always fix overheating. Sometimes the cooling parts inside are clogged, sometimes the fan is no longer moving air properly, and sometimes there is a deeper fault behind it.
Dust blowing out of the vents can be misleading. People often assume that if some dust comes out, the blockage is gone, but performance can still stay poor if the heatsink is still packed inside or the fan is struggling. In other words, seeing dust leave the laptop does not mean the cooling path is actually clear.
If it smells hot, runs loudly almost all the time, or starts ramping the fan up for no obvious reason, I would treat that as a proper inspection job rather than more DIY cleaning. Those symptoms can fit internal dust, worn fans, or dried thermal paste, but they can also overlap with other faults, so the sensible step is diagnosis instead of trying random fixes.
What a professional clean usually involves
The real job is checking the cooling system properly, not just blowing dust out of a vent and hoping for the best.
A proper internal clean starts with safe opening and inspection, because laptops are not all built the same and some are very easy to damage if you rush them. On some models the fan is easy to reach. On others, parts have to come out in a certain order, cables are short, and clips are fragile.
It is the fan and heatsink area that matters
The useful part of the job is removing dust from the fan, the fins of the heatsink, and the path the air actually travels through. That is different from wiping what you can see from the outside. I often find a solid felt-like block of dust tucked behind the fan outlet, where no amount of casual blasting from the vent would clear it properly.
While it is open, the airflow path needs checking end to end rather than just looking for visible fluff. If the fan is weak, noisy, or not spinning as it should, cleaning alone may not solve much. If the cooling compound between the chip and heatsink has dried out, thermal paste replacement may be recommended, but only if inspection shows it is actually needed.
Cleaning is only part of the work
After that, it needs reassembly and testing. That means making sure cables are seated properly, the fan is responding, temperatures make sense, and nothing new has been introduced during the strip-down. Sounds obvious, but this is the part skipped when someone does a quick blow-through and calls it cleaned.
When it makes sense to stop and book a computer repair
Clear points where getting it checked is the practical option, especially if you need the laptop working rather than half-taken apart on the table.
If the laptop is overheating, shutting down, or suddenly much noisier than normal, I would stop there. Those are signs that simple cleaning may not be enough, and continued use can make things worse. A loud fan can mean dust, but it can also mean a worn fan, a blocked heatsink, dried thermal paste, or another fault that needs proper diagnosis.
Liquid is different from dust
If any drink, cleaner, or moisture may have gone inside, do not carry on cleaning and do not keep powering it up to see if it still works. Liquid damage is time-sensitive and unpredictable. Sometimes the laptop turns on at first and then fails later, so this is one of the cases where a repair assessment matters more than more DIY.
Damaged screws, rounded heads, or a base cover that feels stuck are also good reasons to stop. On many laptops the bottom panel is held by hidden clips as well as screws, and forcing it usually cracks the casing or damages the fixing points. I see this a lot with machines that were probably one careful step away from being fine.
If it is your work machine, or a business laptop where downtime matters, the sensible choice is often local repair rather than more experimenting. That is especially true if you need files, email, or access to software for the next working day. Depending on the service offered, you may be able to use a local drop-off, collection, or home visit option, which can be easier than travelling with a machine that is already unstable.
Questions we get every day
What our engineers actually say
We often see laptops made worse by well-meant cleaning, and a common problem is dust being blown further into the cooling system instead of out. In practice, we diagnose the fault before starting any computer repair, because overheating, fan noise, and poor airflow do not always come from the same cause.
If all you are doing is cleaning the outside with a dry microfibre cloth and keeping liquid away from openings, that is usually sensible. If you are tempted to force air into vents, use household cleaners, or open the machine without being sure of the layout, that is the point where DIY laptop cleaning starts to become a risk rather than a help.